Building a brand new pool is an exciting time, filled with the anticipation of spending hours swimming and lounging in the sun. But going through the pool building process can oftentimes be overwhelming and stressful. With so many steps and things to keep in mind, it can be a lot to deal with. Well, thankfully, we’re here to help you out! We’ve put together this inground swimming pool planning guide, so you can navigate the waters of building a pool with ease.
Can Your Backyard Handle a Pool?
Before you even begin thinking about your dream backyard oasis, verify your backyard can handle it. If you have a small, narrow backyard, you likely won’t have the room for a large, deep pool. If you have a large, but very rocky or hilly backyard, you’re going to spend a lot of money on excavation and leveling. Having a realistic plan and vision for your pool planning process will help avoid surprises and worse, disappointments. And remember that you’re not only building a pool, but also an area to store pool plumbing equipment, and likely a pool deck too.
In addition to the size of your backyard, it’s important to notice what’s around your yard. If there are power lines or any sort of wiring above your pool, you will have to relocate the lines or wires before building a pool. Which can be a costly endeavor.
Stage 1: Blueprints and Permits
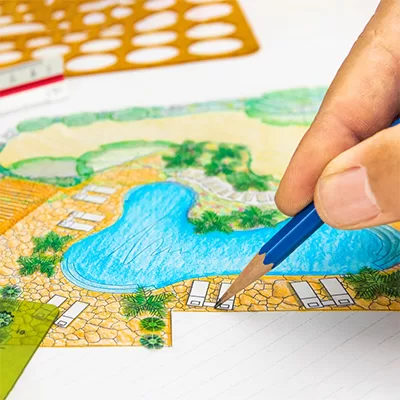
Once you’ve established your backyard is an adequate size and shape for your desired pool, it’s time to break out the pen and paper. Building an inground pool is not as simple as filling up a kiddie pool on your lawn, and often requires certain permissions and permits.
In most residential neighborhoods, you will need to obtain proper approval and guidelines from the city and your HOA before you can break ground. This part of the process will reveal if your property is on an easement, if there are setback requirements, or if your property is on a protected zone, all of which can impede pool installation. Contact your city’s planning and development department for information on how to acquire the necessary permits applications for building a pool.
Plan Ahead
Before you can submit your permit, you need to speak with a contractor and an engineer to create a blueprint plan of your pool. Inform your contractor of any special features you want in your pool, like lights, jets, a cove, or anything else. Adding in special features during the initial building process is much easier than trying to renovate your pool later on.
Stage 2: Excavation & Installation
Assuming your permit is approved, the next step in your pool planning journey is to make room for your pool. At this time, you will need to hire a construction crew to remove the dirt, landscaping, and other materials from your yard. Or if you’re feeling particularly handy, you can rent the machines needed to excavate on your own.
Backyard Excavation

Clearing and leveling your backyard properly is key to ensuring your new inground pool maintains its structure and stability. A lopsided or too shallow dig will cause an array of problems for your pool down the road. Once the land is cleared and the pool is dug out, they will fill it with cement and put in a cement collar, which is the framework of your pool. Then, an electrician will lay the wiring for your pool, plumbing equipment, and any special features like lights or fountains. Finally, the construction team will finish pouring concrete and install any additional pool features like rocks or a diving board.
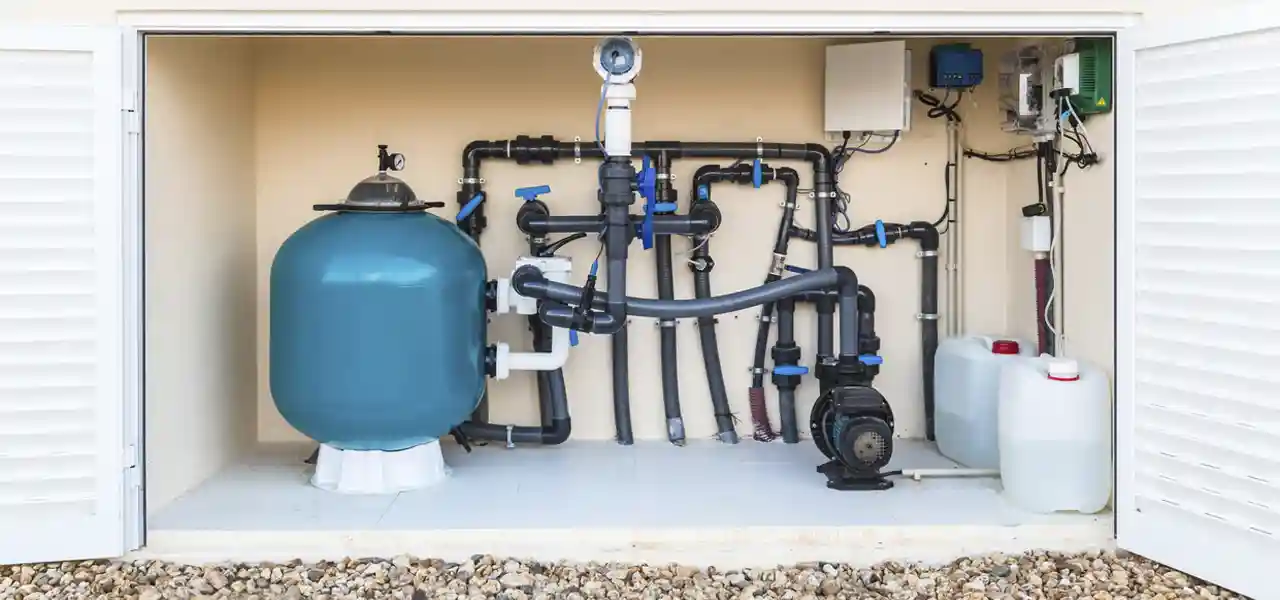
Verify the excavation plans include creating a place for your pool plumbing and any storage area you require. Pool pumps, filters, heaters, and other equipment can take up a lot of space, so ensure you have designated enough room for them. Additionally, if your backyard and budget have the room, building a storage area for pool chemicals, toys, and accessories is a great idea. Properly storing pool chemicals not only keeps everyone safe, but it prolongs the life and efficacy of the pricey chemicals.
Pool Installation
When the concrete is dry and all the features are in place, it’s time to finish the pool installation process. At this time, decorative tile or a vinyl liner will be added to the walls and floor of your pool. The plumbing lines will be connected, and last but not least, your pool will be filled with water!
Stage 3: Landscaping & Decor
Once you’ve locked-in the look of your pool, don’t forget about the landscaping and decor! Don’t let a bare, lackluster backyard take away from the beauty and luxury of your beautiful new pool. A well-manicured backyard will not only make you feel like you’re at a resort every day, but will increase the value of your home if you choose to sell down the road.
Landscaping
Add a few large trees for shade, or some beautiful bright flowers for a pop of color around your pool. Landscaping your yard is the best way to complement a gorgeous new pool, and adds another layer of elegance and luxury to your home. Just keep in mind that not all trees and plants are pool-friendly. Check out our great article, Best & Worst Trees to Plant Around a Pool, for more information.
Decor
Decorating your patio or deck is another way to enhance the beauty of your pool. Add some colorful umbrellas, or a few relaxing recliner chairs out on your pool deck for guests to enjoy. And no pool party is complete without great entertainment! From waterproof speakers to fire pits, we have everything you need to throw an amazing party.
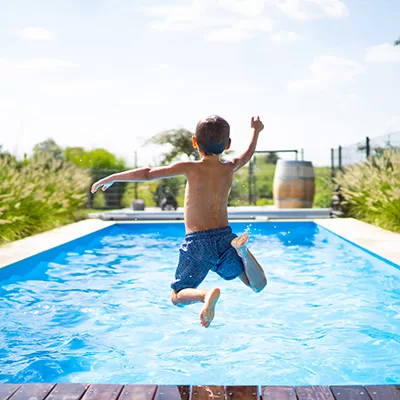
Stage 4: Cannonball!
The final stage of your pool planning journey is to jump in! Once all the paperwork and construction is done, it’s finally time to enjoy your new swimming pool. After the long process of planning for a pool, there’s no greater reward than dipping your toes into your beautiful new pool for the first time.
In The Swim Inground Pool Kits
While there’s no denying that hiring someone else to build your inground pool is convenient, some people want to take on the challenge themselves. Thankfully, In The Swim has got you covered. Our DIY inground pool kits have made pool building easier than ever. With 20 unique pool styles, there is an option for everyone. Whether you want a standard rectangle or a dramatic gothic shape, you can create the inground pool of your dreams — with your own two hands! Our pool kits include all the tools and supplies needed to not only build your pool, but keep it fresh and clean too.