Never closed a salt water swimming pool before? Not to worry! There are a few key differences compared to closing a regular chlorine pool, but it’s still a simple process that most pool owners can handle themselves. To prevent algae growth, surface stains, and expensive pool damage, we’ve broken down the process of winterizing a salt water pool into 10 easy steps.
1. Do Not Add Salt

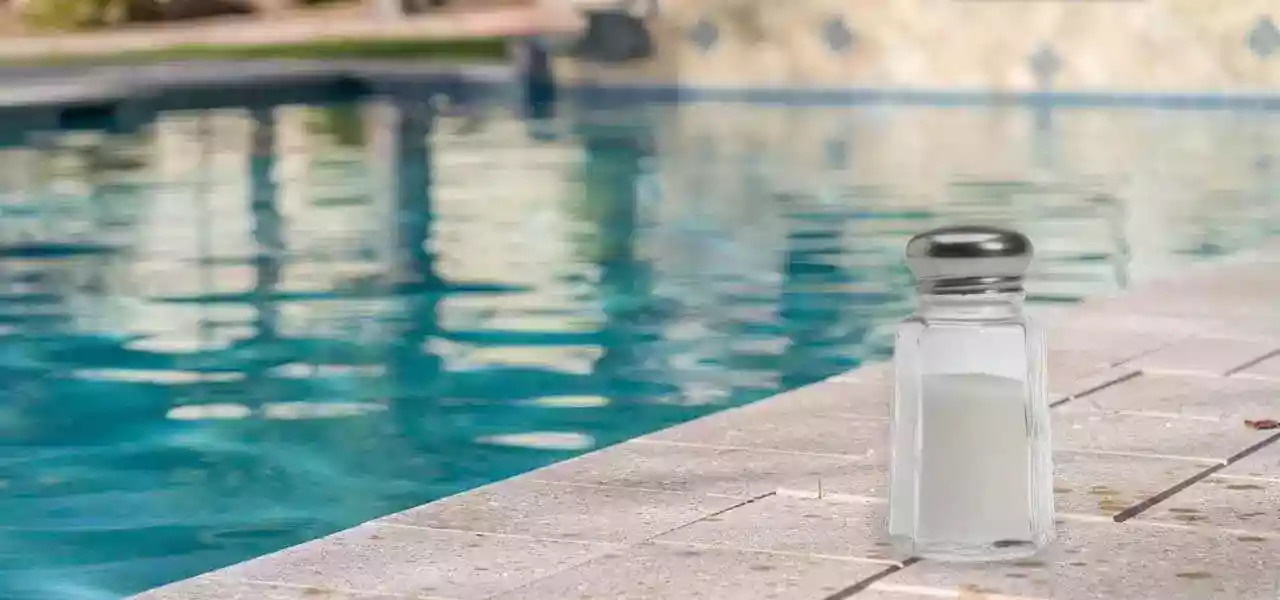
Water conductivity decreases as cooler weather sets in, which can cause a chlorine generator to indicate low salt levels. Many people see this and mistakenly add more salt to the pool, not realizing they may be overdosing the water. For the most accurate salinity reading in cool temperatures, use salt test strips or a digital salinity tester instead.
Maintain salt levels within the manufacturer’s recommended range at all times. However, when winterizing a salt water pool, it’s best to leave salt levels a little on the low end of the scale. Salt can react with contaminants in the water and leave unsightly pool stains, so avoid adding extra salt to the pool in the weeks leading up to closing.
2. Balance the Water
In addition to checking salinity, test and balance other aspects of your water chemistry. One week before your closing date, make sure pH is 7.2–7.8, Total Alkalinity is between 80–120 ppm, and Calcium Hardness is between 200–400 ppm. Adjust as needed, and allow the water to circulate.
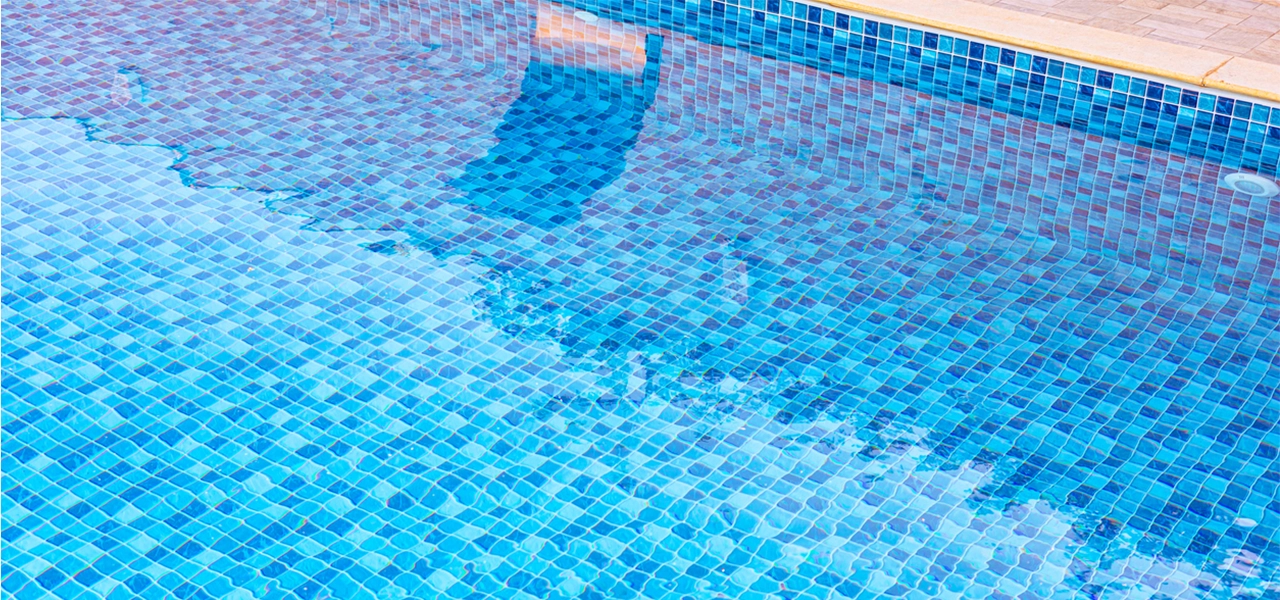
Salt water is more likely to form mineral scale on pool surfaces if the pH, TA, and calcium levels are out of whack. Unbalanced water can decrease the effectiveness of your winter chemicals, so it’s extremely important to keep these numbers in check. If the calcium level is higher than 400 ppm, keep the pH under 7.6 to help prevent scale formation.
3. Clean the Pool
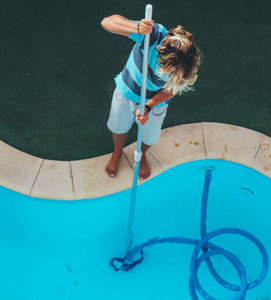
To avoid difficulties in the spring, get your pool as clean as possible before the cover goes on. Any dirt, debris or organic residue left behind can stain a pool over the winter. Thoroughly skim, brush, and vacuum the pool to remove as much debris as possible. Also clean out the skimmer. In the days leading up to pool closing, run the filter longer than normal to ensure the water stays as clean as possible.
A few days before closing, shock the pool to get rid of any lingering bacteria, algae spores and organic matter hanging out in the water. If you are using a pre-sized pool closing kit, it will come with the correct amount of granular shock needed for your pool.
4. Remove Equipment from the Pool
Diving boards, ladders, handrails, and slides should be removed for the winter. Some are set far enough back that they won’t interfere with the winter cover or safety cover, and can be left as is. If the deck mounting brackets are too close to the pool edge, remove to prevent stress and damage to your winter cover or safety cover. Also remove any toys, floats or pool cleaners when winterizing your salt water pool.
5. Add Winter Chemicals
There are many types of pool closing kits available. Some are even specifically labeled “salt water closing kits,” but the truth is that all winter kits are safe to use in salt water swimming pools. Not only are pool closing kits extremely convenient, but they’re also a cost-effective way to purchase winterizing chemicals. Some kits even include a WinterPill for maximum winterizing power.
High chlorine can break down algaecide and damage a winter cover. Check water balance and chlorine levels one last time before adding your remaining winter chemicals. The pool should already be cleaned and shocked, and chlorine levels should be back in the normal 1–3 ppm range. When adding a stain and scale inhibitor, allow the pump and filter to run for at least 8–10 hours to fully disperse the chemical. Winter algaecide is usually one of the last things added before covering the pool, after the water has been lowered and the pool equipment has been disconnected. Waiting until the end keeps the algaecide more concentrated. If you want to add the algaecide later, agitate the water with a pool brush to help disperse it through the water.
6. Lower the Water Level
This step is optional for vinyl pools using a faceplate-type skimmer plug. If this is the case for your pool, continue to the next step — there’s no need to lower your water level. If you have a D.E. or sand filter, start this process by backwashing the filter to clear out dirt and debris from your filter, and start the cleaning process. While backwashing, be careful not to let the water level drop too much. Don’t allow the pump to run dry from lack of water in the skimmer — this can damage your pool pump! Finish lowering the water with a submersible pump, use the main drain, or siphon water from the pool.
Above ground pools should be drained a few inches below the skimmer. Inground pools with mesh covers will need to be about 12″ below the skimmer (to allow rain and snow to melt), and those with solid winter covers should be about 6″ below the skimmer. To prevent damage to your pool cover, the water should never be lower than 18″ from the pool ledge.
7. Winterize the Salt Generator
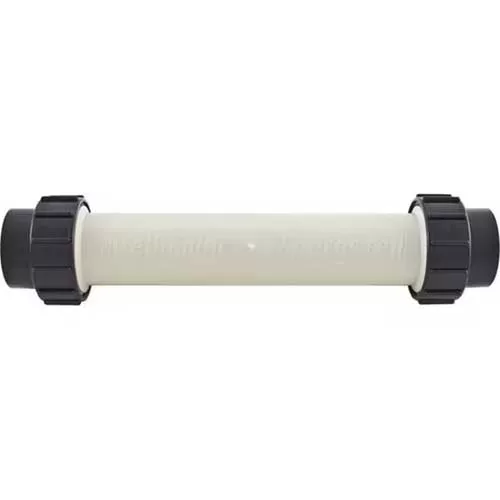
Remove the salt cell when winterizing your salt water pool. Start by turning off all circuits to pool equipment, including the pool pump. Unscrew the unions to disconnect the generator cell from the pool lines. You can replace it with a temporary “dummy” cell to keep the line properly spaced and sealed through the winter.
Check for scaly deposits on the plates inside the salt cell, and clean it well with a high pressure hose. You can also use a plastic or wood tool to gently scrape away any scale buildup. NEVER use metal to scrape the generator plates, and don’t aggressively scrape at deposits. Doing so can damage the coating on the plates and shorten the lifespan of your generator cell. For particularly stubborn scale, you can use diluted muriatic acid to soak the cell. Once dry and clean, store it indoors. If it’s time to replace your salt cell, make a note to purchase one before spring opening.
8. Properly Drain and Clean All Equipment
Much like you did for the salt generator cell, you’ll also want to drain and clean all pool equipment – pool pump, filter, heater, additional sanitizers or chlorinators, solar covers, etc. The power circuits should be turned off before getting started on any electrical equipment. Remove all drain plugs from equipment, and keep them open to allow proper drainage. Store the drain plugs in a safe place; many pool owners like to keep them in the pump basket.
Remove the filter cartridge or filter grids from your cartridge or DE filter, and clean them thoroughly with a garden hose and/or soak them in a filter cleaning solution. While cleaning your pool equipment, this is the perfect time to lubricate the o-rings. This keeps them newer longer, and the lubricant will help prevent them from cracking over the winter. Lastly, use a shop vac, a small compressor or a blower to remove any remaining water from equipment. If possible, store pool equipment indoors, safe from harsh winter conditions.
9. Winterize Pool Lines and Skimmer
This is probably the most important step when winterizing a salt water pool. Failure to properly winterize pool lines can cause cracked pipes and expensive underground repairs. First, remove the eyeball fittings from all return lines, and remove the skimmer basket. Then use a Cyclone blower or a small air compressor to force all water from the intake and return lines. Once the water has been cleared, plug the skimmer with a collapsible skimmer guard, and plug the return lines with threaded pool plugs or expansion plugs. Once the skimmer and returns are plugged, turn off the blower/air compressor.
Done properly, no water should enter the pool plumbing. Even so, non-toxic pool antifreeze is good insurance against damage in case of a faulty plug. It’s also good to use if you’re not certain the pool lines have been completely cleared. Follow manufacturer’s instructions for adding antifreeze to your pool lines. DO NOT leave antifreeze in pool equipment — it can gunk up filter media and damage o-rings and gaskets.
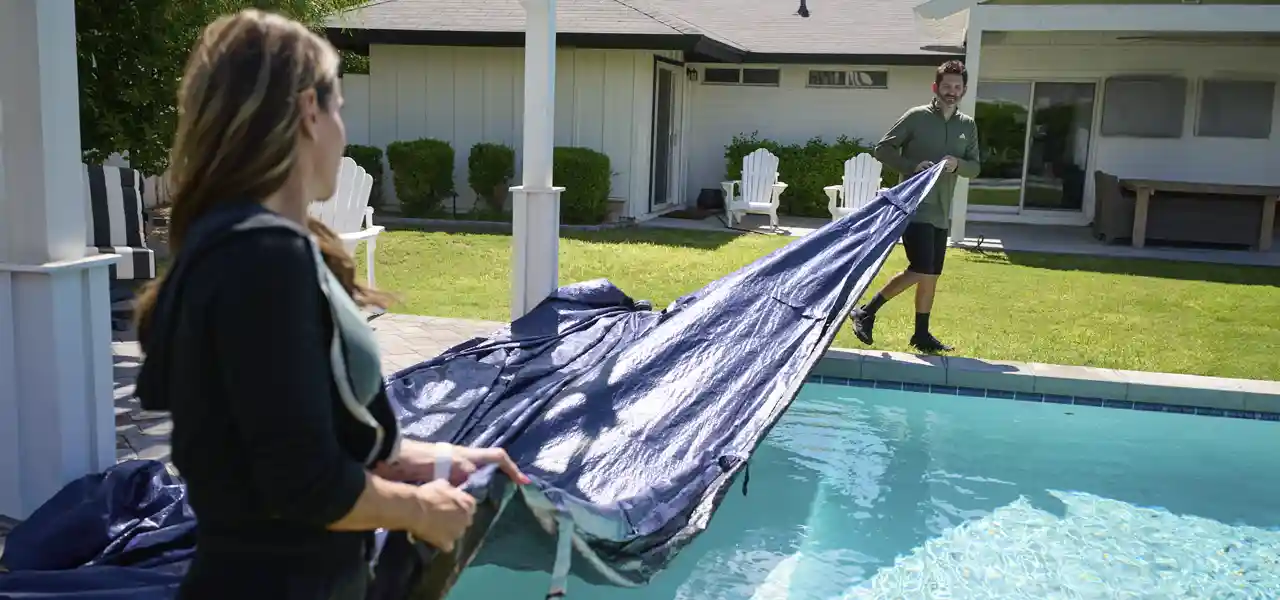
10. Add Cover to Pool
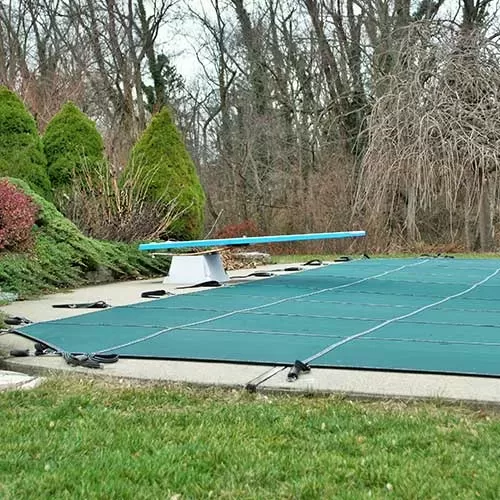
Before covering the pool, do one final skim to remove as much debris as possible. The cover should be clean and free of rips and tears. Holes can be patched with a safety cover patch or a winter cover patch. If an oil-absorbing sponge or WinterPill was included in your pool closing kit, toss them in the pool before the cover is installed.
For a solid winter cover, fill up the water weights around the perimeter of the pool to hold the cover securely in place. With a safety cover, bring the anchors to the surface of the pool deck and use the special installation tool to attach the cover straps to the anchors. For an above ground pool cover, use an air pillow underneath the cover to break up the ice, and use a cable and winch kit to secure it to the pool. Extras like cover clips or a winter cover seal will prevent wind from getting under and damaging an above ground pool cover.
Final Tips
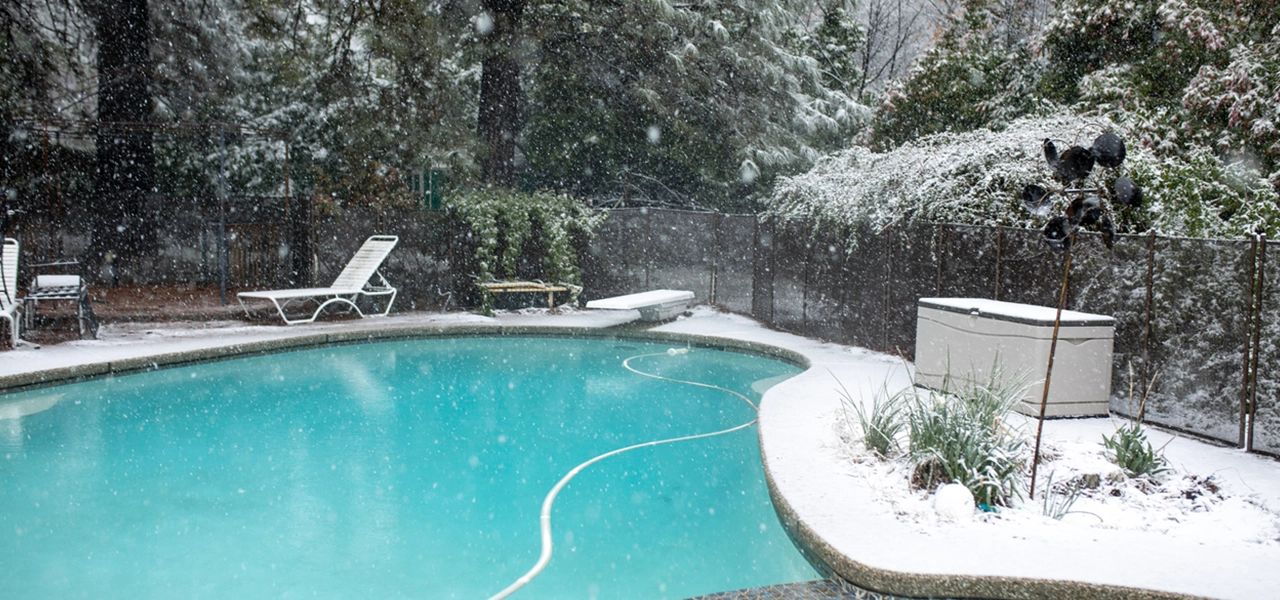
Even though the pool is closed, there are still a few maintenance tips for keeping up with through the winter. These will ensure an easier spring opening and a lower risk of damage to your pool and cover.
- Keep the cover clear of debris.
- Use a pool cover pump to remove excess rain water and snow melt from the cover.
- Check water chemistry every 6-8 weeks if possible.
- Monitor the water level. Undetected leaks can wreak havoc on covers and pool walls.
- Add chemicals as necessary. Warm, fluctuating temperatures evaporate algaecide and sanitizer quickly.
- In the spring, use Salt Water Magic Monthly Maintenance to quickly get your pool back in top shape.