RETAINING WALLS FOR INGROUND POOLS
Retaining walls are usually used for sloping backyards. Sometimes a retaining wall is used to add more room for the pool by cutting into a small hillside, or to allow for perimeter space all the way around the pool. Some homeowners incorporate a retaining wall into a water feature, such as wall spouts or rock waterfalls, but that’s a topic for another day.
Perhaps your property is level, but you want to add a dramatic backdrop to your pool with a raised wall on the far side. On top of the wall, you can add water features, a raised spa or additional pool deck spaces. Retaining walls can be topped with small bushes to add greenery and act as a barrier to blowing leaves. They can also serve a safety function by restricting access on one side of the pool.
DO YOU NEED A RETAINING WALL?
It depends on the slope of your backyard. Remember, you always want water to flow away from the pool, not toward it. If your yard is steep, or there is a hill or dropoff in close proximity to the pool, it will be necessary to build a retaining wall to keep water (and dirt) away from your pool.
This is determined in the planning stage and placement of the pool. With a plat of your property showing elevations, proper placement of the pool and the appropriate landscaping can be determined. We can help with that. If your backyard has hills, slopes and valleys, a retaining wall will most likely be needed.
OPTIONS FOR RETAINING WALLS
SLAB: The most durable material would be a concrete slab or poured concrete for a retaining wall. This is not normally used for small backyard retaining walls, however. More commonly used is a type of retaining wall known as a Gravity Wall.
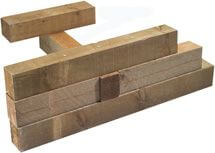
TIMBERS: Many retaining walls are made of timber, usually pressure treated 6-inch by 6-inch. Depending on the weight and slope pushing on the timber, this may not be suitable. Timber often doesn’t hold up as long as concrete, boulder or slab retaining walls. Wood retaining walls can be made stronger with the use of perpendicular supports, what’s called a “dead-man.” These are equally spaced behind a wall, every third course, to keep the wall from being pushed too easily in the wrong direction.
BLOCKS: A popular option are interlocking concrete blocks, commonly known as a segmented retaining wall. These walls can be easily built and are engineered to create an extremely strong wall when properly installed.
STONES: A concrete block wall, mortared in place and strengthened by steel and concrete, is finished with a facing of flagstone, or field stone, with cap stones on top. It certainly is one of your most expensive options, but also one of the sturdiest retaining walls. Various stone types (and bricks) and several methods of stacking would be available.
BOULDERS: Natural boulders, which allow drainage, can make a quickly constructed retaining wall. The common size boulder recommended is 18 inches to 24 inches and they are stacked against the slope to keep them from rolling into the pool. Try getting that out with your skimmer net! Boulders and large flat rocks can also be worked into a natural landscape with big foliage and maybe a water feature.
WATER FEATURES AND POOL RETAINING WALLS
If you can imagine it, you can build it! When you have different elevations, one could plumb their retaining wall for a sheer decent water feature or a natural stream bed, deck jets, water spouts or tall overflowing planters. Anything is possible. Very small fountains can be run off of your filter pump, but if you are planning a large volume water feature, you typically will install an additional pump, which draws water out of a wall intake and pumps it to your waterfall, cascade or jets.
HOW TO BUILD A SWIMMING POOL RETAINING WALL
PLAN: First, plan out what type of material you will use and how long and high the retaining wall will be. With a survey plat of your property, showing elevation, mark the location of your retaining wall.
PERMITS: This will be rolled into your overall construction permit in most cases. For small retaining walls, under 24 inches tall, you may not need a permit in many areas. It is important to try to keep your walls 5 feet high or less. Over than 5 feet will require an engineer’s stamped plan, which must be submitted with the pool construction application. If you have room, having two smaller retaining walls, terrace style, is usually a better result than one taller wall.
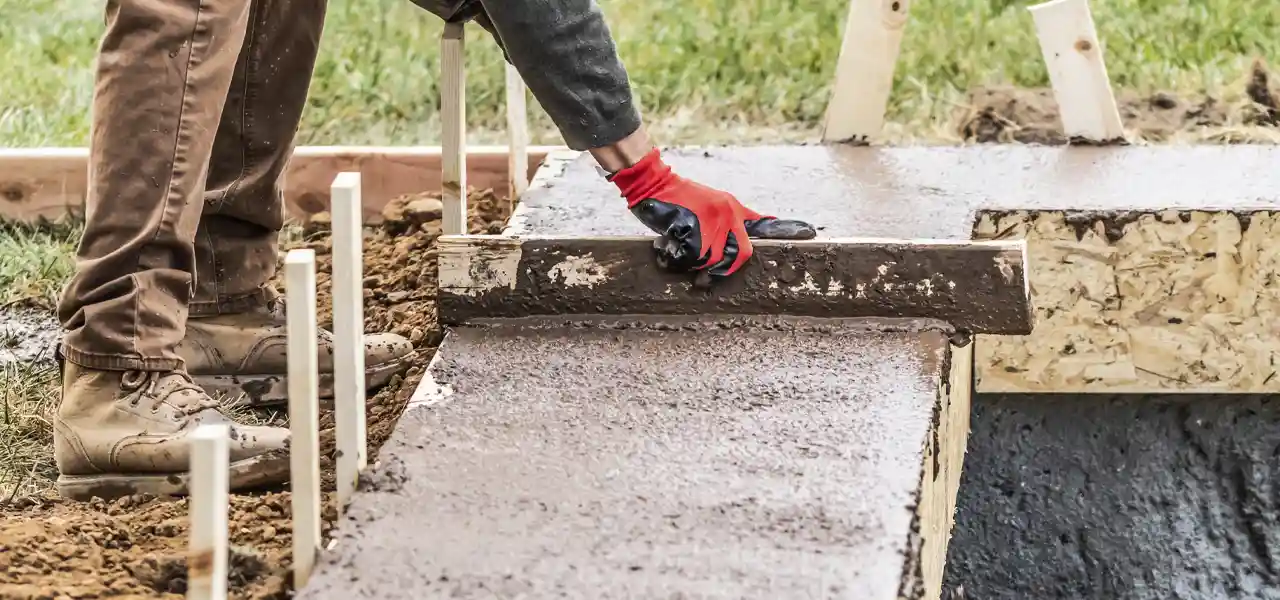
EXCAVATE: The footing or foundation for your retaining wall should be deep and wide. Dig out at least 24″ wide and 18″ deep. Measure to be sure you have dug or excavated a consistent depth. In many cases, your pool excavator or grader can dig this while the pool is being dug, and can work from the plans and markings made ready for his arrival.
GRAVEL: Make sure that you compact the soil in the bottom of the trench and lay 6-inch gravel. Begin to lay your first course, directly on top of the gravel. Filter fabric should be used behind the wall extending from the bottom of the base of the wall to the top of the wall. This will prevent soil from seeping through the wall.
BUILD: The first course, or bottom row, should be placed at least 6″ below the ground level, or about 1/10th of the wall height. Use long rebar pieces, driven through your block or timber with a sledge hammer, to help hold the first course in place. Continue to build the blocks or timbers vertically, leaning toward the slope until you have reached the desired height. As mentioned previously, certain materials are limited as to how high they can be built. Check your local building and zoning website for retaining wall height restrictions.
DRAINAGE: Place drainage tile (perforated black pipe) behind the wall as necessary, depending on the type of soil and height of the wall. Cover the pipe in 6-12 inches of gravel. The drainage tile should be come through the wall at every low point, or at the end of the wall, or every 10-20 feet.
BACKFILL: Make sure you use free draining material as backfill behind the wall. Sandy soil or gravel can be used over the landscape fabric. Finally, fill in all areas behind the wall with soil, and compact every 12 inches.
PITFALLS TO AVOID IN PLANNING AND PLACEMENT
- Have proper plans before you begin a retaining wall. What type of material will be used?
- Do not forget how it will be viewed from inside your home. Will the wall be eye-popping?
- Know your soil: rocky, expansive, loamy. Plan for proper drainage around the wall.
- Read more detailed references on the topic.