For most pool owners, a pool heater represents a substantial investment, and one that you want to keep in good condition, to avoid expensive heater repair and replacement. This post will focus on DIY pool heater maintenance for gas pool heaters, plus tips on how to care for an electric heat pump.
Heat Exchanger Cleaning:
Your heat exchanger is a set of copper-finned tubes (or can be salt-resistant Cupro-Nickel). It sits on the top of the combustion chamber, absorbing the heat from the burner tray, located at the bottom of the combustion chamber.
The heat exchanger also allows air to flow through it, and although new heaters have ‘fan-assisted’ exhaust, heat exchanger obstructions can slow the flow of air out of the heater, resulting in over-heating, sooting and flame roll-out.
Every year or two, remove the heater top to inspect the heat exchanger. Use a wet/dry vac to remove any leaves or debris, and look for evidence of bird or rodent nests. Use a flashlight to inspect the spaces between the tube coils. If sooting or galvanic corrosion is noticed, remove with a wire brush to restore air flow.
Heater Floor Cleaning:
Now that the top of the heater is clean, the next step in pool heater maintenance is to look at the bottom of the heater, under the burner tray. It is common to find leaves, acorns, rust and dust, which should be removed to improve air flow and reduce corrosion.
Use a hand brush or a wet/dry vac to remove the dirt and debris once per year. Make sure the drain holes on the side of the heater are not obstructed, to allow condensation and ‘sideways’ rain to exit the floor of the heater.
If you notice any nesting material in the spring time, do a thorough cleaning and take action the following fall, to keep out birds and mice.
Fix Any Heater Leaks:
It’s not uncommon for pool systems to have a drip or ooze of water here or there, a completely water-tight filter system is rare. Pool heaters too may have drips on the pipes that bring water in and out of the heat exchanger, perhaps not a big problem.
Water leaking INSIDE the heater, however, that’s another story. Water inside the heater can cause corrosion and lead to rusty components, wiring and circuit boards.
Look for any source of internal leaks, such as the pressure switch, drain plugs, header gaskets or even pinholes in an eroded heat exchanger, caused by very low pH water, or too much water flow.
Condensation can form when heating very cold water, and may puddle water in the floor of the heater, and is not considered a leak. Heater condensation will subside once the pool water comes up to temperature.
Inspect the Burner Flames:
For this one, you may need to remove the burner shield, or use a handheld mirror to inspect the height and color of the flames, as the heater is ‘firing’, or in operation.
The first check is to ascertain that all burners have flames. If one or more rows of burners has not ignited, the issue is usually a clogged burner orifice, which can be cleaned out with a paper clip, or thin wire.
The second check is that the flames are strong and blue, not lazy, and red/orange/yellow. A lazy flame can indicate poor exhaust from a sooted heat exchanger or defective fan. It can also indicate low gas pressure or a defective gas regulator.
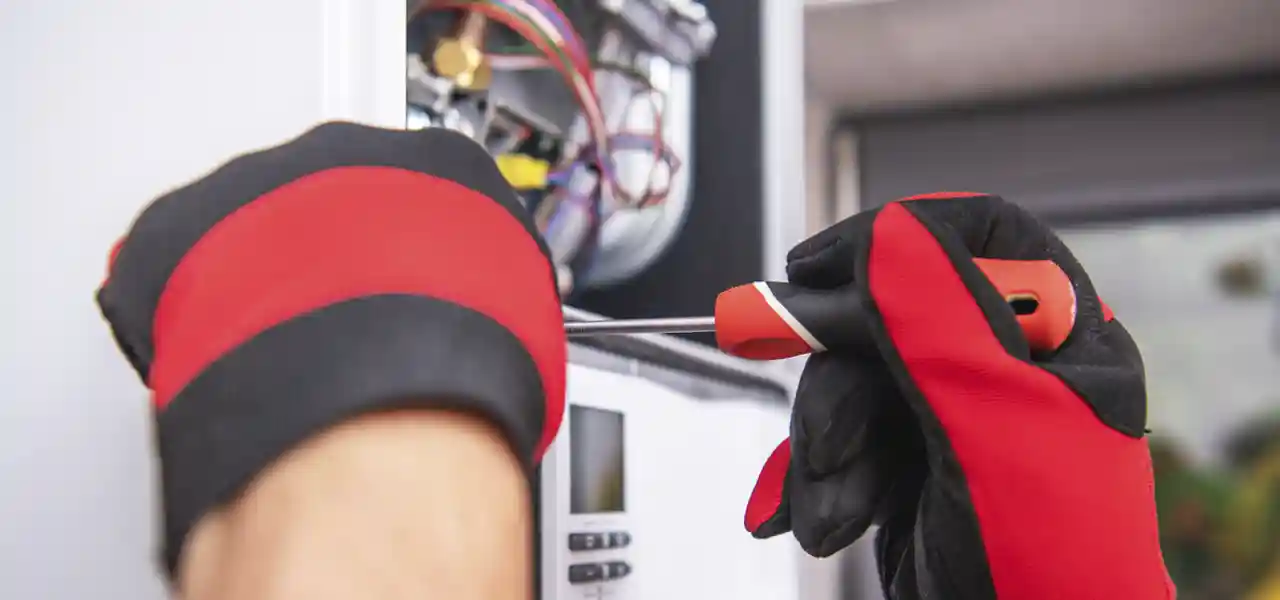
Inspect the Wiring:
Pool heaters have a lot of wiring in the safety circuit, much of it hidden behind the control panel. Inspect the wiring to look for any evidence of melted wires or wires chewed by rodents. Also check that wires are firmly connected at their end points. “Hot spots” on the front or sides of the heater can mean that the insulation or ‘fire brick’ has failed in that area.
If you find melted wires during your pool heater maintenance, you likely have heater exhaust issues, creating high temperatures inside the heater, or flame rollout, also likely tripping the high limit switch. If you find chewed wires, you likely have winter residents inside of the heater. Use mint sachets or other means to discourage mice or birds from making a home of your heater.
Around the Heater:
Prune bushes and overhanging trees around the heater, to allow the area to dry out quickly after rain. Plants and trees block air flow and increase humidity, which leads to corrosion. A sunny, dry spot is best for your heater. Covering the heater during winter with our Universal Pool Heater Cover is an inexpensive way to keep out moisture, dirt, animals and insects.
Mulch around the heater is another problem, as it a very low pH, and produces an acidic humidity, which can be corrosive. Mulch also traps moisture, and attracts insects. Gravel and paver stones are a much better surface around your pool heater.
Pool Heater Maintenance on a Heat Pump:
- Clean the Coils: Shut off power to the heat pump at the breaker, and use a garden hose with nozzle to spray the external coil of the heater, from top to bottom. If unfamiliar with the term, the heater ‘Coil’ is the metal vanes seen around the outside, through which air is drawn into the heater. The coils absorb heat from the outside air, but become inefficient when clogged with dirt and debris. A simple hosing is sufficient (do not use a pressure washer). If greasy dirt is a problem, use a mild cleanser like Simple Green.
- Clean the Inside: Shut off power and clean out the leaves and muck that has found it’s way to the bottom of your pool heat pump. A wet/dry vac can be useful here, or for tall people, just bend over and scoop it out by hand. Take care to clean out the side openings so that rain will quickly run-out of the bottom, and not build-up inside.
- Clean the Fan Blades: Shut off power and use a cleanser and a rag to clean off the tips of the fan blade, which can develop a dirty edge. Inspect the fan blade for any wobble, which can indicate a bad bearing.
- Inspect the Wiring: For your safety and the proper operation of your pool heat pump, be sure that the wiring from the breaker box is encased in a proper conduit with tight connections at both ends. Look inside the control panel for any loose or chewed wiring. Contact an electrician for anything that looks improper.
- Inspect the Refrigerant Line Insulation: You know the black foam insulation on the pipe – it can deteriorate over the years. Pick up some new pipe insulation at your local home store to keep your heat pump operating efficiently.
I hope you enjoyed this look at how to service a pool heater. Keep your pool heater in well maintained condition and it will reward you with fewer repairs and a longer life.