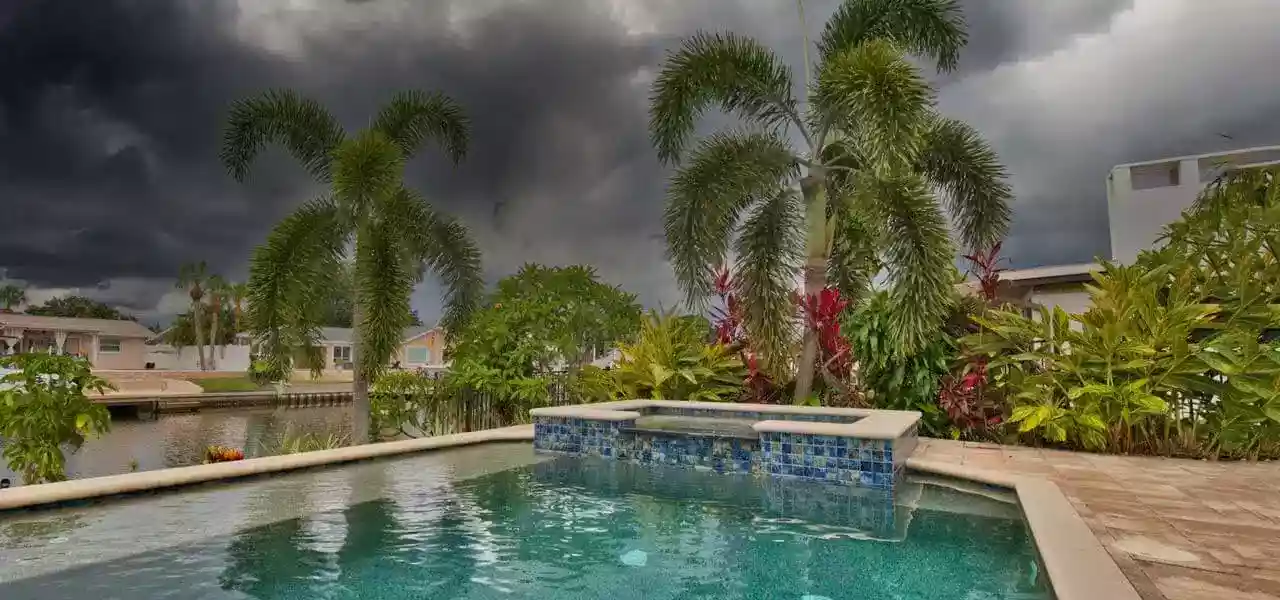
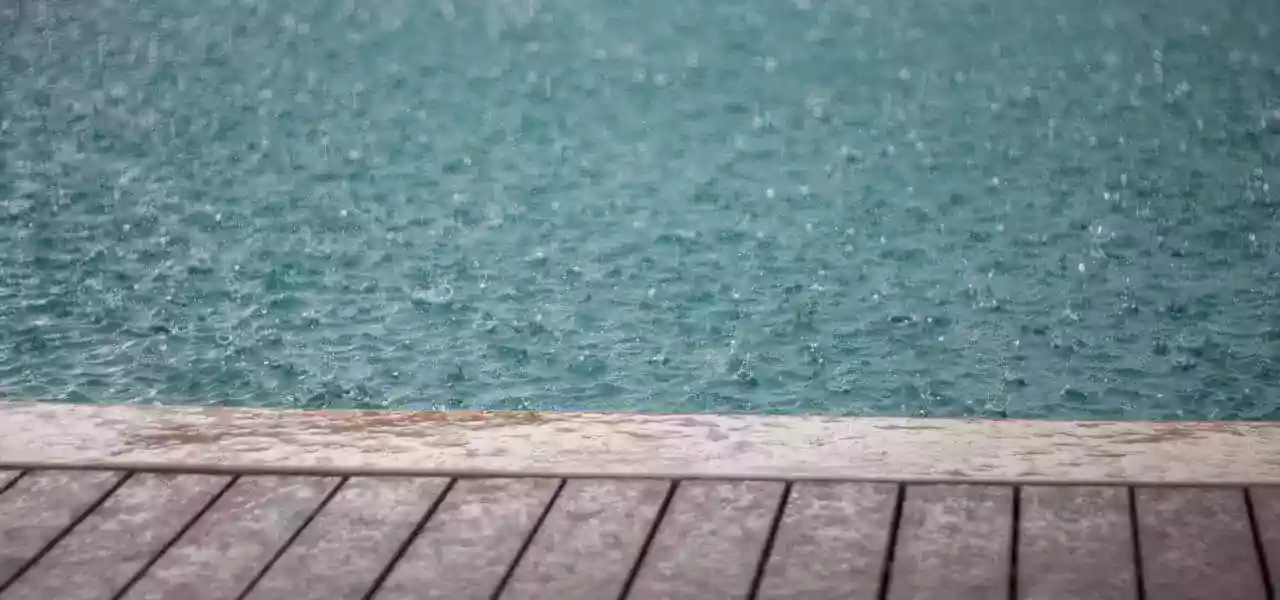
An abundance of heavy rain can be a blessing and a curse. On one hand, if the area you live in is experiencing a drought, a torrential downpour can be a gift from Mother Nature herself. But on the other hand, intense rain can cause a multitude of problems. In particular, pool flooding. A flooded pool is a very real possibility during heavy rainstorms. If you find yourself dealing with an overflowing swimming pool, use this recovery checklist to get your pool — and backyard — back in business.
Step 1: Assess the Damage
Before you can begin any recovery efforts, you will need to determine how serious the problem is. Once the rainstorm has passed and it is safe to go outdoors, assess how badly your pool has flooded and if there is any damage to your pool equipment. Check your pool pump, pipes, and filter for any obvious cracks or damage.
It is a good idea to take note of your property’s drainage situation. When it rains, does runoff from your backyard flow into your pool? Do the gutters on your home drain into your pool? If you notice any of these situations may be causing your pool to flood, address them immediately.
Step 2: Clean the Deck
After you get a lay of the land, it’s time to start cleaning. First and foremost, clean off your flooded pool deck. Don’t spend precious time and energy cleaning your pool if your deck is filthy. All your hard work will go out the window as the debris and contaminants on the deck will ultimately end up back in your pool water.
If your backyard is flooded, you may need to wait for the ground to dry up before you can effectively clean the area. In the meantime, do your best to dispose of any large pieces of debris, like tree branches.
Step 3: Brush Your Pool 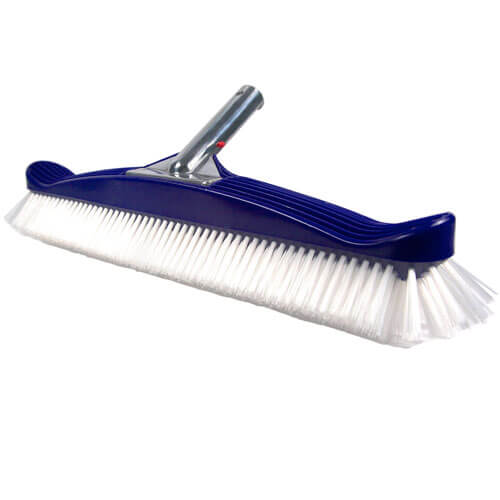
The next step is to brush your pool. Thoroughly. If your arms don’t look like The Rock’s when you’re done, you didn’t brush hard enough. You want to brush every inch of your pool and bring any bit of dirt or silt out of its hiding place. Depending upon how dirty your pool is, you may need to brush it repeatedly over the next few days. Brushing your pool will make the next step — vacuuming — more effective because all the debris will be loose and easier to suck up.
Set your pool filter to run day and night during this stage. Having your filter run continuously will speed up the cleaning process by removing as much soot and particulates as possible.
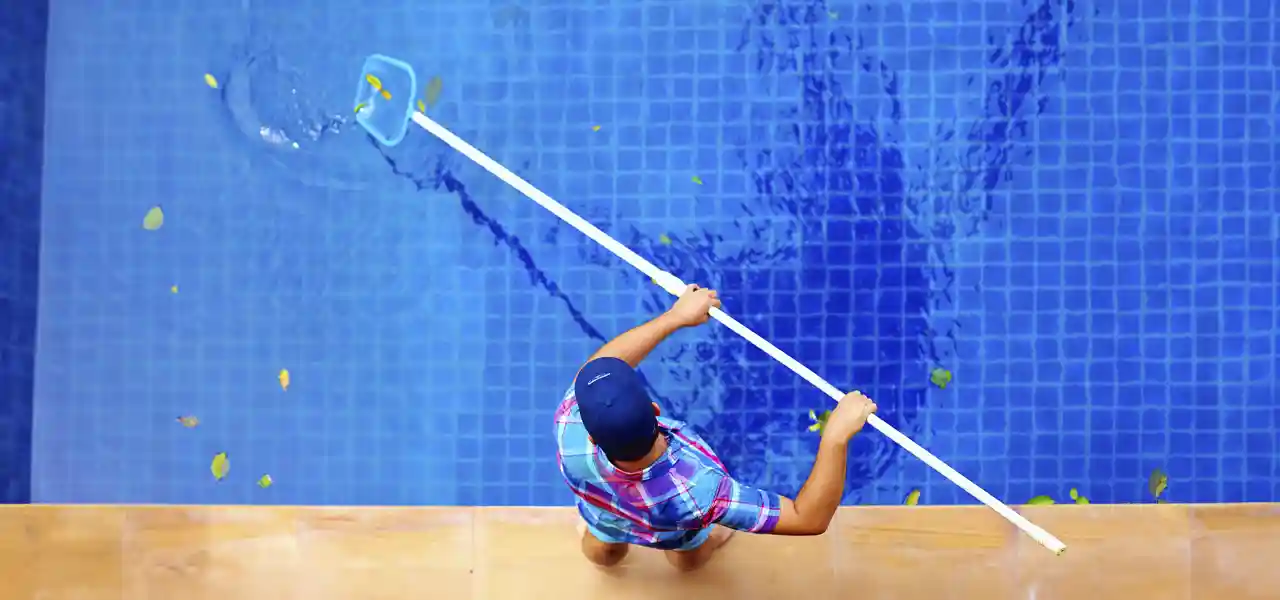
Step 4: Vacuum to Waste
Now that your arms have turned to jello, it’s time to vacuum everything up! If you have a sand or DE filter, set the multiport valve to the “waste” function. Remember, vacuuming will remove water from your pool, so make sure to turn your garden hose on and set it in your pool so the water level doesn’t get too low. Once the hose is in and your multiport valve is ready, get to work. Take your time and be thorough. Slow and steady wins the race, and it also gets the most debris out of your pool.
As you vacuum, keep an eye on your pool skimmer. If the water level drops below the skimmer, pause and let your pool refill a bit before continuing. You want the water level to be at the middle of the skimmer.
Step 5: Test & Balance Water 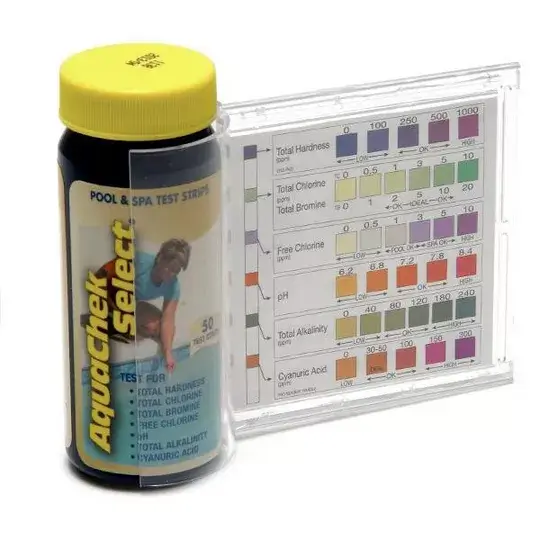
Hopefully, your pool will be looking a bit better by now! With most of the sediment cleaned up, now it’s time to grab your trusty test kit or test strips and check in with the chemicals. After any severe weather incident, pool water chemistry will likely be completely out of whack. As pure as rainwater may seem, it carries all sorts of pollution and contaminants on its way to the ground, or in this case, to your pool. Balance pH and Total Alkalinity first, then check Calcium Hardness and Cyanuric Acid levels. You will likely need to retest and adjust chemical balance more than once over the following days.
Step 6: Remove Phosphates
Put on your white coats and grab your beakers, it’s chemistry time. If you paid attention in your high school chem class, you might remember that phosphates are chemical compounds that contain phosphorus, oxygen and sometimes hydrogen. So why are they harmful to have in your pool? Phosphates, as a whole, are technically not harmful, and your pool water’s sanitizer usually depletes them before they can run rampant.
The big problem with phosphates is that they are the main food source for algae. After a heavy downpour, especially one that causes a flooded pool, the level of phosphates in your pool water will be sky high. This produces a breeding ground for algae. So before you get to the next step of shocking your pool, first test the phosphate level, and then add a phosphate remover. This process will keep any algae growth at bay.
Step 7: Shock the Pool 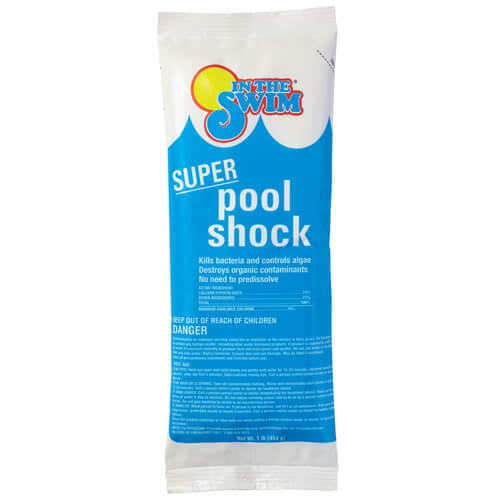
Your pool has been vacuumed, check. The water chemistry has been tested and balanced, check. You have removed all phosphates, check. Now, it’s time to grab some shock and crank up that chlorine!
You will want to raise the chlorine level in your flooded pool to at least 30 ppm. This is typically a triple shock, or 3 lbs of pool shock per 10,000 gallons. Continue to brush your pool surfaces in the morning and in the evening, to loosen any remaining debris. Set your filter to run continuously for the next 72–hours.
Step 8: Enzyme & Clarifier
Your pool should be looking pretty clean and clear at this point! If you still have slightly murky water and staining, use a water clarifier to eliminate remaining organic material. A pool flocculant will do more heavy lifting if the clarifier doesn’t completely clear up the waste in your pool. Just keep in mind that you will need to vacuum your pool again after using a flocculant.
Step 9: Stain Treatments 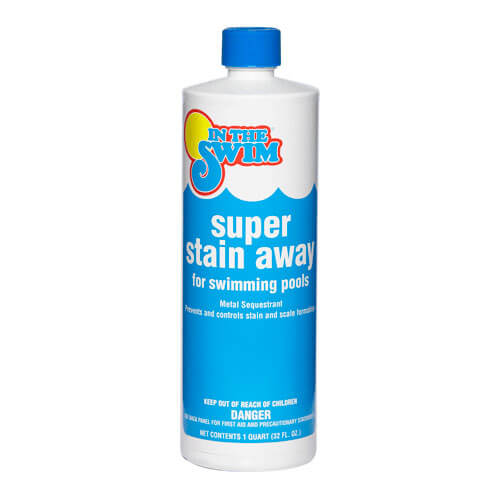
The finish line is in sight! Hang in there. All the debris, dirt and contaminants you just removed from your pool may have left some staining. Chlorine will continue to clear and sanitize the pool, but you will probably need some additional staining help. Super Stain Away and A+ Stain Treatment are great options for removing organic pool staining.
Step 10: Clean the Filter
You did it, you made it to the end! Pat yourself on the back and be proud of all the hard work you did. After filtering a metric ton of debris out of your pool, your poor pool filter needs a spa day. Inspect your filter and filter cartridges for damage or blockages. Flush out any remaining gunk from your filter with Natural Chemistry’s Filter Perfect.
The storm has passed, the sun is shining, and your pool is beautiful and clean again. Now it’s time to go enjoy it. Grab your goggles and cannonball in!