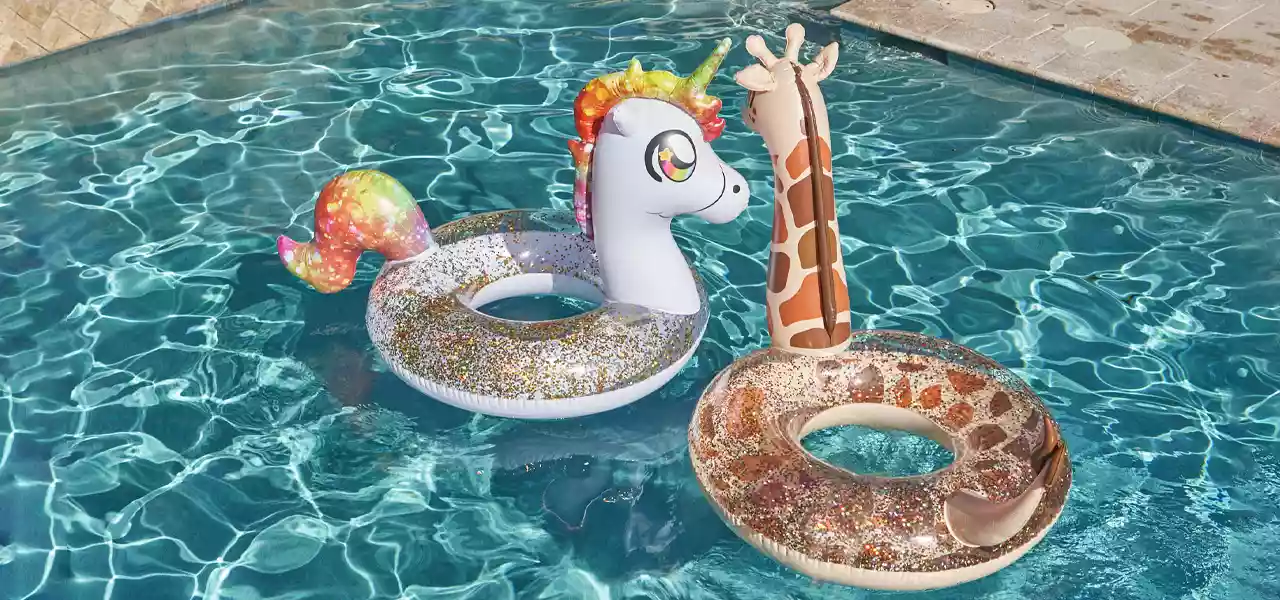
While most pool floats are extremely durable and long-lasting, they’re not indestructible and can tear due to prolonged use, sun or chemical damage, or poor handling. But thankfully, a small tear doesn’t mean you have to throw your float away! Keep reading to learn how to patch a pool float in three simple steps, and how to take care of your floats when the summer fun ends.
1. Find the Leak

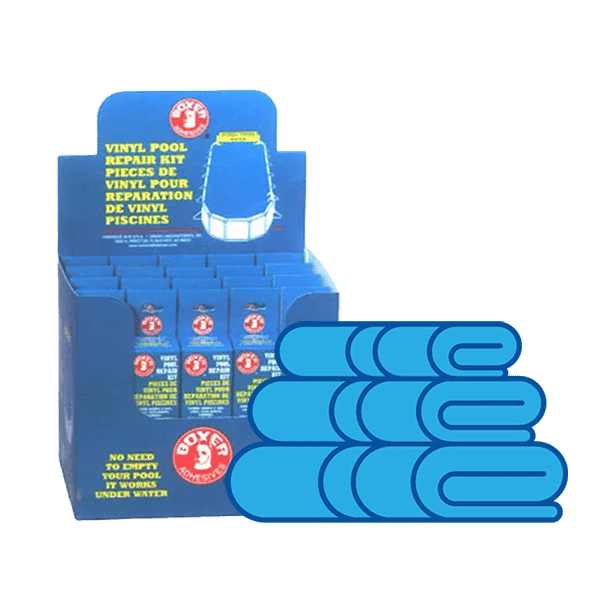
2. Gather Tools
3. Patch the Leak

Step 1: Find the Pool Float Leak
Before you can repair your damaged pool float, you must first locate where the leak is coming from. If the tear is obvious, go ahead and skip to Step 2. But if you’re struggling to pinpoint the rip, start by fully inflating the float, closing the air valve, then following one of these two methods:
Method 1: Submerge the Float
This method works best if you have a small, lightweight float and don’t mind getting wet.
- Place your fully-inflated float in the pool, either by the side of the pool or by the steps.
- Submerge one part of the float at a time while checking for bubbles.
- Once you locate the leak, take the float out of the water, and mark the location with a dry erase marker or a piece of masking tape.
Method 2: Spray the Float with Dish Soap
This method is best if you have a large or heavy inflatable float.
- Set your float on your patio or lawn, away from any sharp rocks or twigs.
- Fill a spray bottle with water, add a few drops of dish soap, and spray the mixture all over your pool float.
- Gently press down on different areas of your float and look for bubbles.
- Once you locate the leak, mark the location with a dry erase marker or piece of masking tape.
Keep in mind there may be more than one leak, so ensure you do a thorough inspection of the entire float before beginning your repair!
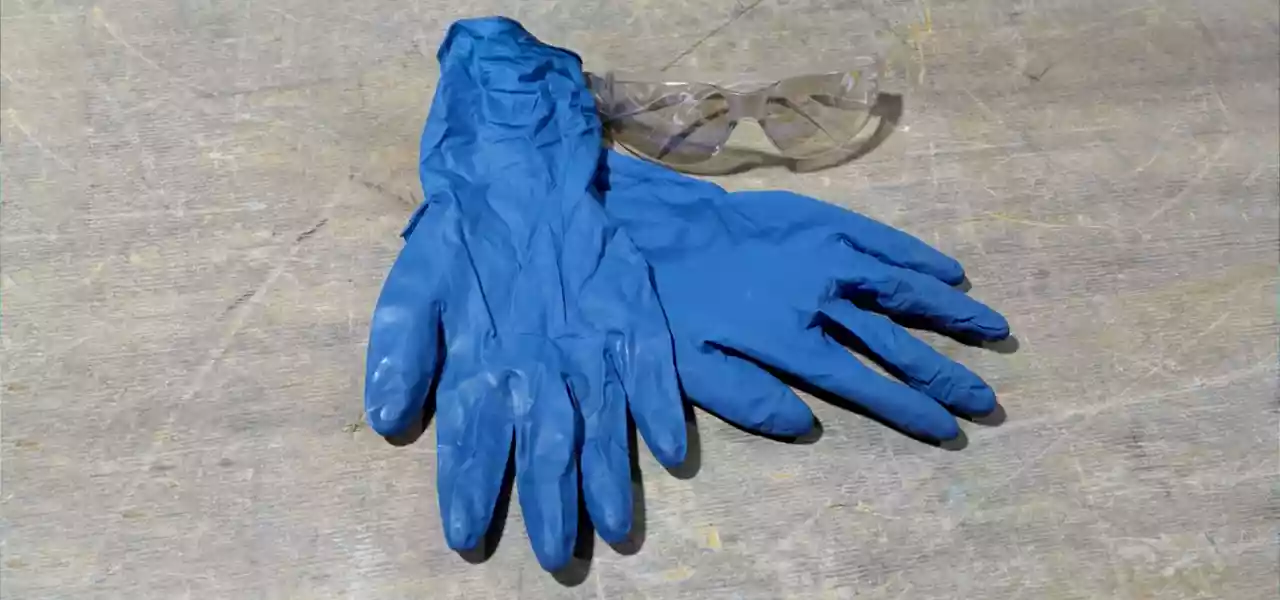
Step 2: Gather the Required Tools
Now that you’ve pinpointed the rip(s) in your pool float, it’s time to gather up the supplies you’ll need to properly mend it. Some floats come with their own patch kits, so double check if you already have a kit lying around before purchasing new items.
For those who don’t have a patch kit at the ready, the most common way to fix a pool float is to use a vinyl liner patch kit. These kits are easy to use, durable, and best of all — they’re waterproof. However, keep in mind that a vinyl patch kit isn’t suited for a float made of rubber or other, non-vinyl materials. If you’re not sure what material your pool float is, check online or call the float’s manufacturer for more information.
In addition to a patch kit, you will also need a dry rag or towel and rubbing alcohol to clean the float prior to applying the patch.
Step 3: Patch the Pool Float
Now it’s time for the easy part! Pour a bit of rubbing alcohol on the rag, and gently clean the tear and surrounding area. This step is important to guarantee the patch has a smooth, tight seal over the damaged area. Once the rip(s) is clean and dry, follow the application instructions on the patch kit. Then wait for the patch(es) to dry completely, before using your float again.
Once your float is sealed and ready to go, verify your repair by working through one more leak test. But this time, you don’t need to test the entire float, just the areas you applied the patch(es) to!
Pool Float Maintenance and Storage
Whether you’ve had your favorite pool float for years, or just purchased the latest and greatest inflatable, nothing can ruin your day like finding a hole in your float. Thankfully, you can avoid the frustration of a frayed float by following some simple maintenance and storage tips!
Pool Float Maintenance Tips
During the hot summer months, it’s important to give your floats a little extra TLC. The sweltering sun and harsh pool water chemicals can wreck havoc on floats left in the pool for a prolonged period of time. Keep your floats looking like new all summer by simply rinsing them off after every use and storing them in a shady spot!
Pool Float Storage Tips
And when the cooler temperatures start creeping in, and it’s time to say goodbye to summer, follow these storage tips to ensure your floats are ready for next year. Start by cleaning your floats with a mixture of dish soap and water. Then, set the floats out to dry, and pull the air plug so they deflate completely. Finally, once fully dry and flat, gently fold your floats and place them in a weather-resistant container like a shed or patio box.