While balancing water chemistry and repairing equipment are crucial parts of maintaining your pool, the TLC shouldn’t stop there. Your pool deck plays a huge role in not only the overall look of your pool, but the longevity and safety of your entire pool area. So if your pool deck has seen better days, it might be time to give it a fresh new look! And thankfully, with a little bit of deck paint, it’s easier than ever to do just that!
Why Paint?
A fresh coat of paint can open up a world of possibilities for your pool deck without putting a dent in your budget. Here are a few reasons why you should consider bringing your pool deck back to life with paint.
Enjoy a Safe Pool Area
Protection Against the Elements
Budget-Friendly Option
Enjoy a Safe Pool Area
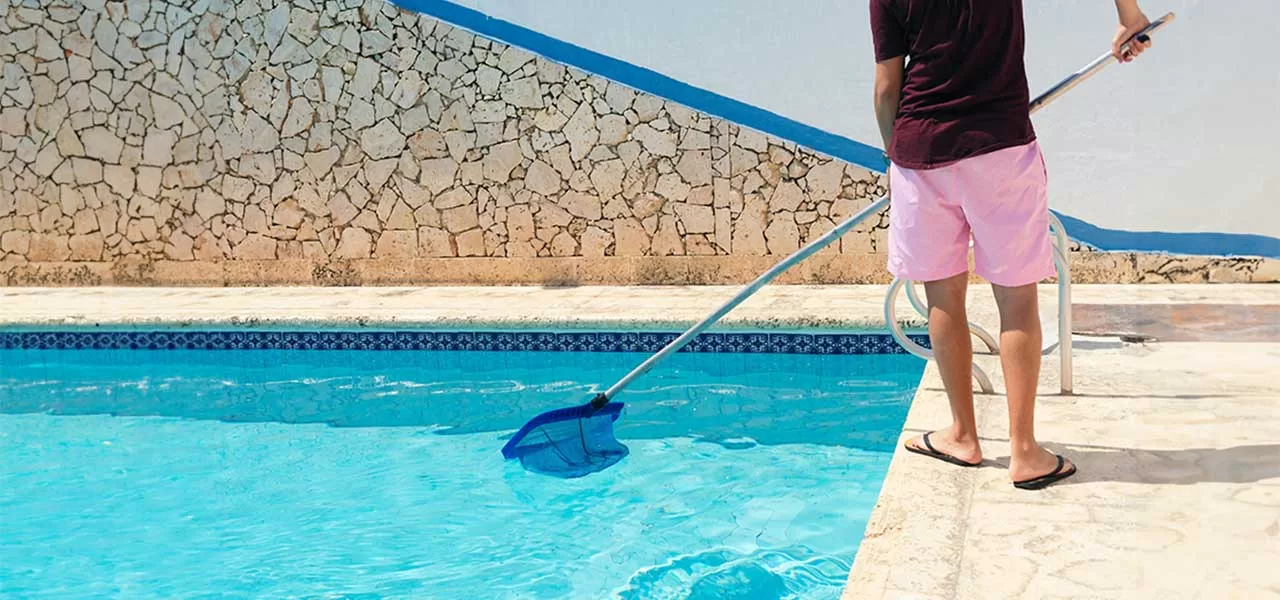
Beyond just being pleasing to the eye, a well-maintained deck is also durable and safe. Whether you have a concrete, wood, stone, or other type of surface deck, signs of aging should be repaired quickly to maintain a safe pool area for all.
Breathes New Life Into Your Deck
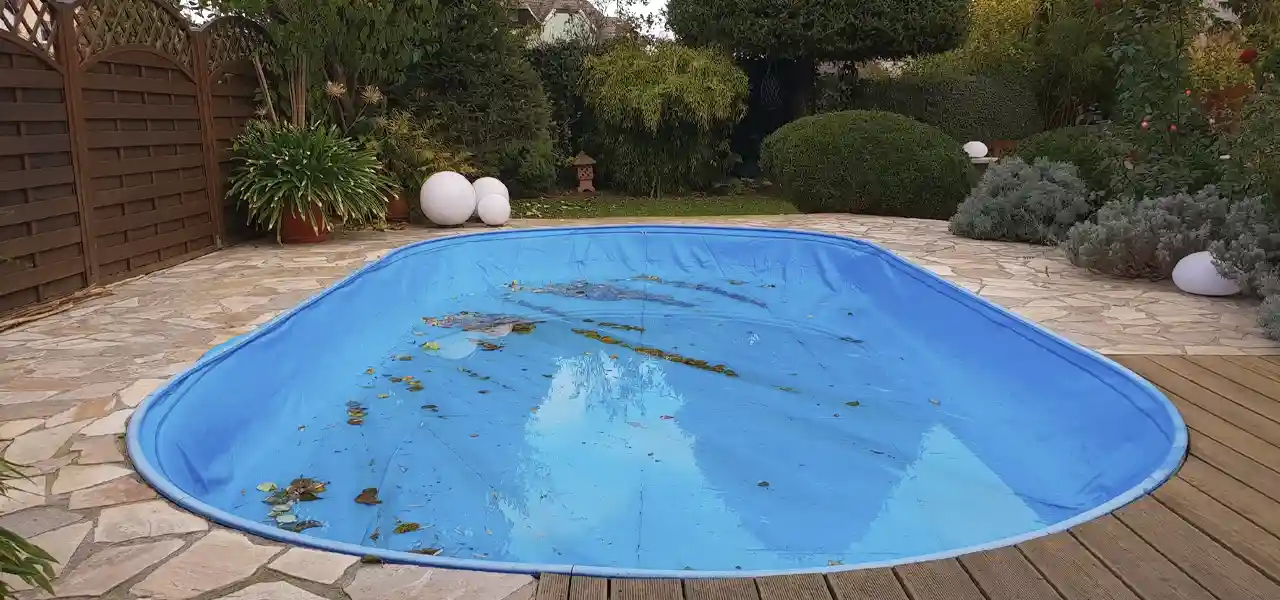
Think of all the work that goes into making sure your pool water is clear, safe, and clean. When you pan out from the pool to see a deck with chipped paint and worn-out colors, it can cast a shadow over your beautiful pool. Your pool and backyard deserve more!
Pool deck paint can change the entire ambiance of your pool, breathing new life into what was once a drab area. With multiple colors to choose from, you can fully customize the look of your pool deck and truly make it your own!
Offers Protection Against the Elements
Another great benefit of painting your deck is that most paints provide a barrier against the elements. Designed to endure heat, rain and snow, a fresh coat of paint not only improves the look of your deck, but also protects it from the damage that comes with harsh weather conditions.
In addition to paint that braves the elements, there are also anti-slip paint options that can enhance foot traction and prevent people from slipping or falling into the pool.
Budget-Friendly Option
A long-term renovation project can cost an arm and a leg. If you find that all your deck needs is paint to liven up your deck area, you now have a more cost-effective way to freshen up your outdoor space and save money.
The excitement to paint is probably sky-high, now that you know the benefits. But, before you begin the painting process, let’s prepare for it!
Paint Preparation
Before painting, it’s important to assess any damages that your pool deck may have. This step is crucial, because you don’t want to paint over fractures that could lead to injuries, or ignore damages that could lead to costly renovations in the future. Painting should only be completed once you’ve handled the following steps…
1. Repair Minor Deck Cracks
Before you begin painting, it’s important to inspect your pool deck for any surface cracks or divots, as these are damages that could lead to major issues down the line. Minor surface cracks can easily be filled with a cement patch product.
However, if you notice any severe cracks or other signs of major damage, we recommend seeking professional help. While a fresh coat of paint is ideal for fixing minor blemishes and enhancing the cosmetic look of your deck, it’s not a fix for serious structural damages.
2. Cover the Pool
Using either a tarp or a painter’s sheet, cover your pool before you begin cleaning and painting the deck. This protects your pool water from acid or paint entering the water and potentially changing your water balance levels.
3. Degrease the Surface
Once all of your repair patches are completely dry, degreasing your pool deck is next. Degreasers are used to remove grease, dirt, and oil from pool surfaces. This step cleans the surface of your pool deck, which helps ensure a smooth paint job.
Apply the degreaser to your pool deck and vigorously scrub the product into the surface with a stiff brush. And for even more cleaning power, consider using a pressure washer to get every piece of dirt and debris out of the deck.
4. Etch the Pool Deck
Once you have degreased your pool deck and hosed it off entirely, add acid etch to your deck. Add one part acid to 4 parts water in a bucket or metal watering can. Then, carefully pour the mixture onto your pool deck and use a soft push brush or broom to gently scrub the solution into your deck.
Thoroughly hose the acid off once complete. When doing this process, be very careful not to let the acid etch enter the pool water, as it has the ability to alter your water chemistry.
Pool Deck Painting Process
Now that you’ve prepared your pool deck, let’s paint! Start by making sure your deck is both clean and dry.
Gather Your Supplies
A paint application kit has all of the tools needed to paint with ease, including roller covers, roller frame, roller pan, trim brushes, paint mixer drill attachment, and two paint stirring sticks.
Prime the Pool Deck
Paint primer is an essential step. The neutral base coat acts as a bonding agent, so that paint can adhere better and last longer.
Once your pool deck is completely dry, now is time to apply a layer of primer. If you are dealing with a particularly rough surface, you may want to add a second layer after the first one dries for a more uniformed look.
Select Your Paint Color
Here is the time to truly have some fun. Selecting your pool deck paint allows you to customize your deck area and bring your individuality to the forefront. Choose a paint color that best compliments your pool area.
Begin by rolling your paint onto the deck surface smoothly and in even strokes. Use an even amount of pressure throughout, so that an even amount of paint is being applied. Two coats of paint is the standard treatment needed to achieve an even look.
In The Swim’s non-slip deck coating is also a great product to have in your collection. It reduces the risk of slips and falls on wet surfaces within ten minutes of its application. Be sure not to apply this product over a fresh paint job.
Seal Your Pool Deck
The best way to avoid having to paint your deck area again in a year or two? Use a pool deck sealer once your paint has dried. This often overlooked step preserves the quality of paint, makes washing off stains easy, and protects your paint from harsh UV rays, heavy traffic, and chlorinated pool water.
Once you’ve sealed your paint, the project is complete! Painting your pool deck area can be completed over a weekend. With a fresh coat of paint, you have officially reinvigorated your deck area.
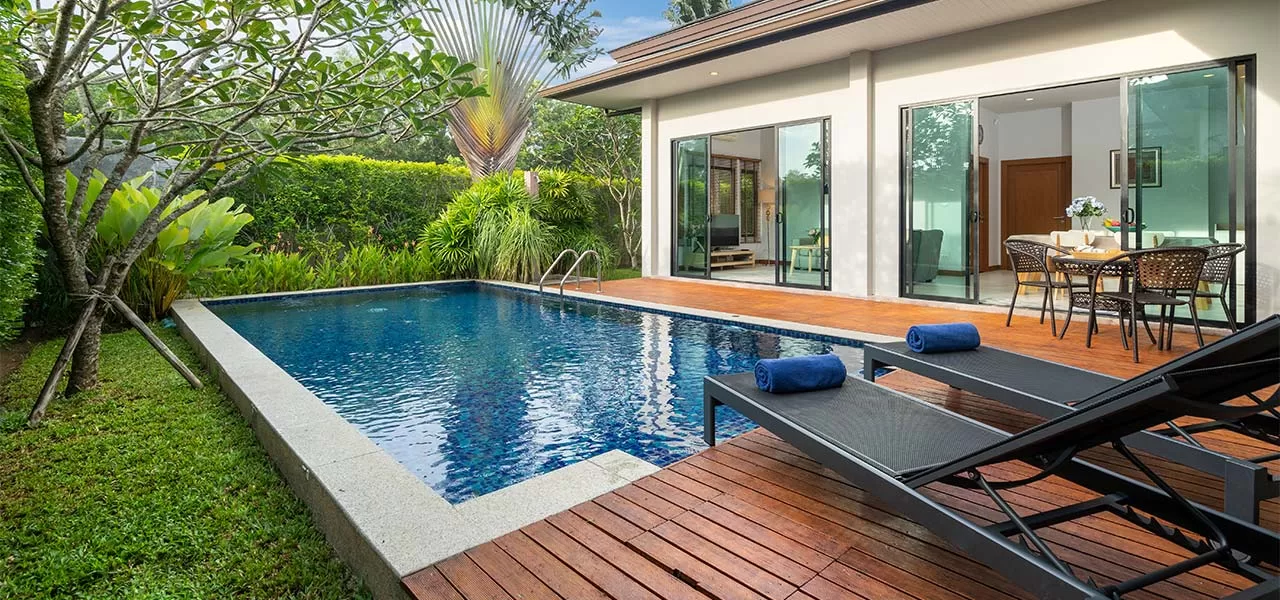
Wooden Pool Deck Prep and Staining
And don’t worry, we didn’t forget about wooden pool decks! Preparing your pool deck for a makeover looks a little different when you have a wooden pool deck versus concrete or stone. Instead of painting, many wood pool deck owners prefer staining. Let’s talk about what wood stain is and how to best prepare your pool deck for it.
What is Wood Staining?
Available in oil, water, and gel-based solutions, wood stain can enhance or change the color of bare wood. Mostly used for aesthetic reasons, wood stain is a great way to transform wood to fit a particular look. Most stains also seal the surface of the wood, which keeps out moisture and eliminates the chances of mold, mildew, and wood rot. It also prevents pesky critters like termites from taking residence in your deck. Staining is essential to ensure the longevity and durability of your pool deck area.
Just as any other material, you have to prepare your wooden pool deck before staining it. Staining is typically a 24 hour-long process, so make sure there’s no rain or snow in the forecast!
Inspect the Pool Deck Area
Similar to a stone or cement based deck, inspecting the current condition of your deck is crucial. Long-term exposure to certain weather conditions, like rain, snow, and harsh sunlight, can cause wooden deck planks to split or crack. Other damages to search for include loose nails and screws, warped boards, water damage, rot, and chipped wood. Damages must be fixed before the staining process begins. Ignoring these issues will cause conditions to get worse, leading to potential injuries and expensive repairs.
Clean Your Deck
Just like with cement and tile pool decks, you have to clean a wooden deck before you stain it. Start by covering your pool and removing patio furniture, plants, and any other items on your deck area. Then, sweep your deck to remove leaves, dust, dirt, and other debris. A clean surface makes for the most effective stain job. Next, follow the directions of your chosen pool deck cleanser to fully sanitize your deck area, then rinse with a garden hose or power washer.
Stain Your Pool Deck
Now that your deck has been inspected for damages and is properly cleaned, it’s time to apply your stain! Once your deck is completely dry, apply the first coat of stain to the entire deck. If needed, add more layers to achieve your desired color. When the stain dries, apply a sealant to preserve the stain and protect your deck from exposure, and general wear and tear.
Once you’ve sealed your paint or stain, the project is complete! Painting or staining your pool deck can not only breathe new life into your deck, but it’s an easy, fun project that can be completed in a weekend!
There’s no reason to delay updating your pool deck area when painting is an option. Cost effective and simple, choosing the perfect shade will breathe new life into your pool area! For more information on the proper ways to care for your pool, check out our blog for more in-depth advice.