Walking along the beach with the cool water splashing your legs and the warm, soft sand under your feet is a luxurious, relaxing experience. But feeling sand under your feet in your swimming pool? Quite the opposite of luxurious and relaxing! If there’s one place sand doesn’t belong, it’s in your pool. So the question is, how did it get there in the first place? In this article, we explain how sand can end up in your pool, and most importantly, how to get rid of it.
Why is There Sand in Your Pool?
The answer to this question depends on what type of pool filter you have. If you have a sand filter, then you’ve found the source of the problem! Filter sand should stay inside the filter at all times, unless you’re changing the sand or backwashing your pool. If you recently changed the filter sand or backwashed your pool, don’t worry if you find a small amount of sand in your pool. However, seeing large clumps of sand in your pool is a clear sign that your sand filter is on the fritz and needs immediate attention. Thankfully, the two most common causes of a leaky sand filter — a broken standpipe or laterals — are relatively easy and inexpensive to remedy.
But wait! What if you don’t have a sand filter? Well, if you don’t have a sand filter, then what looks to be “sand” in your pool likely isn’t sand at all — there’s a good chance you mustard algae. Skip ahead a few sections to learn how to get rid of algae. On the other hand, if you do have grains of sand, and you don’t have a sand filter, it might be getting into the pool on the bottoms of your feet or blowing in from the surrounding area. Use a foot bath or wipe your feet off with a towel to avoid bringing extra debris into the water. Also, using an automatic pool cleaner or a manual pool vacuum can quickly remove dirt, sand, and other settled debris.
What are the Standpipe and Laterals?
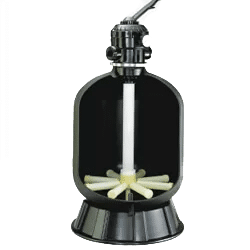
A standpipe is a long pipe that runs internally from the top of your filter, where it connects to the multiport valve, all the way to the bottom, where it connects to the laterals. On side-mount filters, elbow assemblies replace the vertical standpipe to direct water through the filter laterals. Made of durable PVC or plastic, it’s uncommon for standpipes or elbows to break. But if they do, you’ll be stuck with a sandy situation.
Laterals, on the other hand, tend to be a bit more fragile than the standpipe or elbows. Most often, laterals are the reason for sand leaks. Located at the bottom of the sand filter tank, the laterals prevent sand from flowing out of the filter with the clean pool water. They are covered in tiny perforations big enough for water to pass through, but too small for sand. So, if one or more laterals are damaged, the sand slips right out of the filter and into the pool.
How to Replace Internal Filter Parts
Once you’ve determined which piece of your leaky sand filter is damaged, it’s time to fix it. Gather the following supplies, then work through the steps below to get your filter back up and running.
Needed Supplies:
- Replacement sand
- New standpipe, elbows, or laterals
- Duct tape
- Shop vac
- Large trash bags
- Gloves
- Safety goggles
Replacement Steps
Replacing your sand filter’s standpipe, elbows, or laterals will also involve removing and replacing the filter sand. The following instructions focus on replacing the equipment. But for more in-depth instructions on replacing filter sand, check out this helpful blog article! Now, let’s dive into replacing the internal filter components.
- Turn off the pump, open the air relief valve, and remove the drain plug to drain the filter.
- Slowly remove the filter lid or top-mount multiport valve and set aside.
- For top-mount filters with a standpipe, place a piece of tape over the standpipe opening to prevent sand from getting in. For side-mount filters with an elbow assembly, gently move the diffuser to the side so the tank opening is clear.
- Manually scoop out the old filter sand, or use the shop vac to suck out the sand from inside the tank. Place the old sand in large buckets or place it on a plastic sheet or tarp to keep it contained.
- Use a garden hose to flush any remaining sand out of the filter tank, and rinse off the internal components.
- Remove and replace the damaged parts. Carefully inspect all laterals, as well as the standpipe or elbows, to see if any other parts need replaced. When in doubt, go ahead and replace the parts. This ensures all pieces are in good working order, and saves you from having to go through this whole process again!
- Once the new parts are securely in place, grab your garden hose and fill the tank approximately halfway with water.
- Add in the required amount of new filter sand or alternative filter media, making sure to place it carefully around the laterals when you first start adding it to the tank. Also avoid moving the internal structures once you start adding sand. You don’t want to damage these delicate internal components again!
- Reinstall the multiport valve (if applicable), pipes, hoses, lid, drain plug, or any other parts you removed previously.
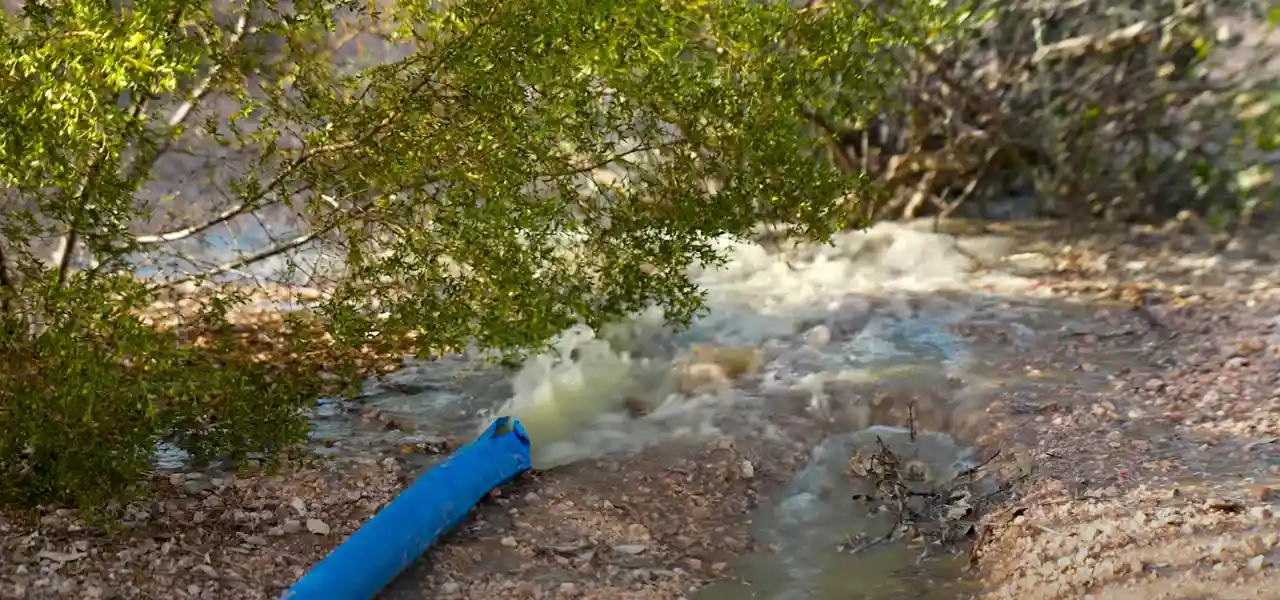
- Prime the pool pump, backwash the filter, then turn the pump off and set the valve back to filter. Refill your pool with a hose if the water level dropped after backwashing.
Now that you have fresh filter sand and new filter parts, you’re ready to tackle the final step in this journey — getting the sand out of your pool. Thankfully, this process is much easier than replacing the filter parts. All you’ll need is a pool brush, telescoping pole, vacuum head, and hose.
Removing Sand From Your Pool
- Use your pool brush and pole to push the sand on the bottom of your pool into one area, if possible. Having most of the sand in one spot will speed up the vacuuming process.
- Attach your vacuum head to the hose, and the hose to your filter. We suggest vacuuming to waste so this old sand doesn’t go back into your filter.
- Roll up your sleeves and start vacuuming! Be sure to move slowly when vacuuming, so you don’t kick up the sand and disperse it throughout the pool again.
- When you’re finished, test and balance your pool water.
What if You Don’t Have a Sand Filter?
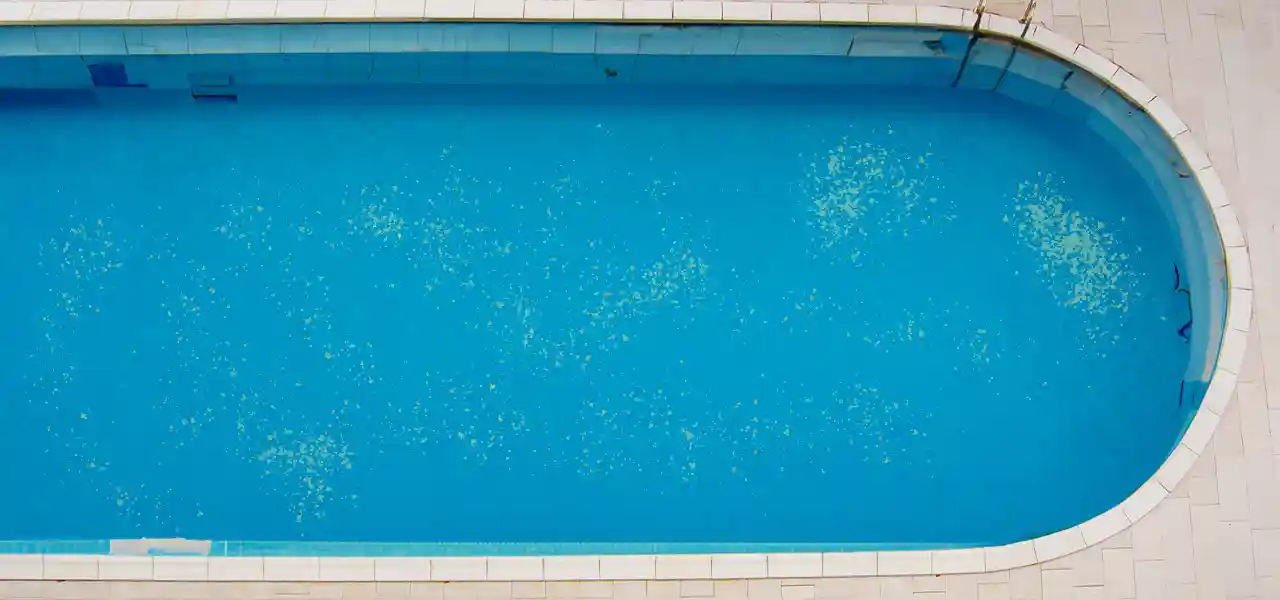
If you don’t have a sand filter or a large sand dune in your backyard, what looks like “sand” in your pool may not actually be sand at all. Pesky yellow algae, also called mustard algae, closely resembles sand when it takes up residence in your pool. To determine whether or not you have a mustard algae dilemma, grab your pool brush and gently brush the yellow clumps. If the clumps disperse into a cloudy mess and don’t settle quickly, you’re dealing with mustard algae.
But don’t panic. While mustard algae isn’t quite as easy to remove as green algae, it’s nowhere near as resilient as the ominous black algae. Check out this great article for everything you need to know about how to remove and prevent mustard algae. Stock up on Yellow Out algaecide and pool shock ahead of time, so you have all the necessary supplies to tackle the algae.
Sand belongs on the beach, not in your swimming pool! If you find yourself in a sandy situation, follow the steps in this article to quickly resolve the issue and get your pool back to its beautiful, clean self.