Automatic pool cleaners are the best thing since sliced bread, but without regular maintenance, inexpensive outer parts can wear through, damaging more costly inner parts.
Good pool cleaner maintenance means regular inspection of the pool cleaner, at key locations, to look for wear or signs of aging. Pools with rough surfaces in contact with the pool cleaner will produce more wear, but all pool cleaners need replacement parts, replaced in a timely fashion, to prevent more severe damage.
An automobile care analogy would be appropriate here – if you wait to long to replace your tires, you could be running on rims one day. The same with your car’s filters and fluids… you have to do the preventative maintenance, if you want to avoid bigger, more expensive repairs.
Pool cleaners are the same way, pay a little now for replacement cleaner parts, as needed, or pay a lot more later if you have to replace the entire cleaner.
Robotic Pool Cleaner Inspection
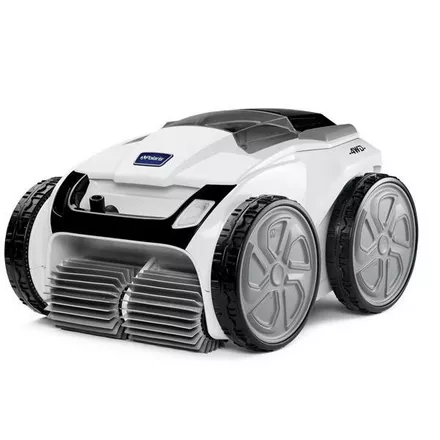
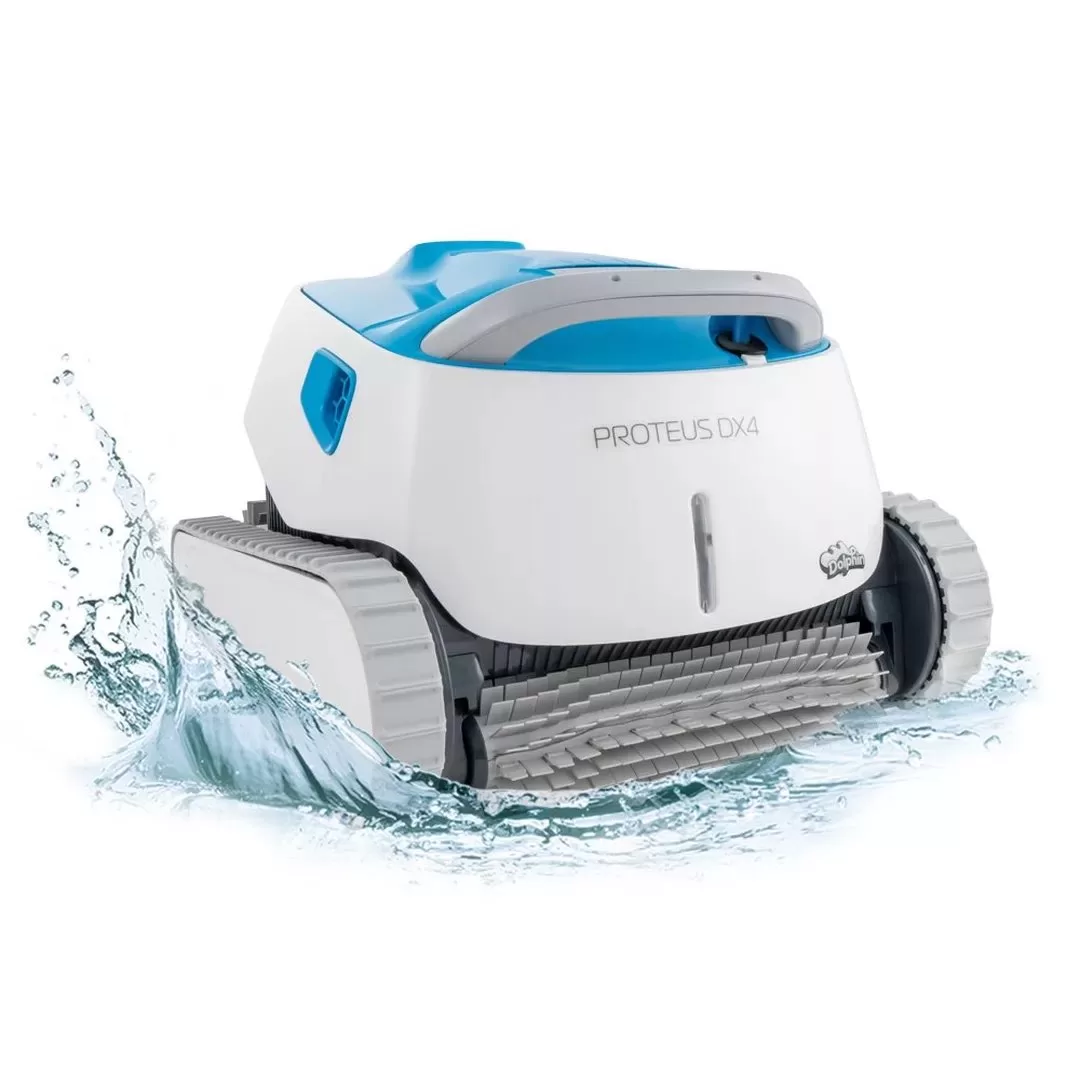
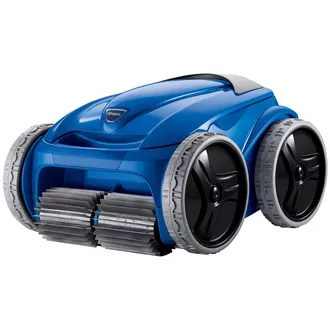
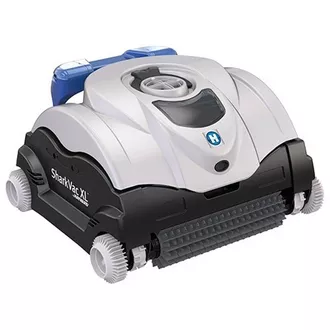
Cords: Older power cords have floats and pins that need adjustment to keep the cord floating, while newer cords are encased in floating foam. Inspect the hose for holes or damage and patch with an RTV sealant if found. Inspect the cord retainer clips on the machine, to be sure the cord is securely fastened to the body of the cleaner.
Wheel Tubes and Brushes: Whenever you clean the filter, take a look at the wheel tubes (or wheels), and the pins and bushings that connect them to the side plates. Be sure none are missing. Bushings that are worn, allowing pin and tube wobble should be replaced. Wheel tube brushes that are worn will affect cleaning, and will allow surfaces to rub on the wheel tube.
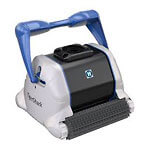
Drive Tracks and Drive Belts: Inspect belts and tracks for tightness by pressing down with your finger. Either should have about 1/4″-1/2″ deflection when pressed firmly. If belts are loose, some cleaners have an adjustment you can make, while for traditional robotic style cleaners (like TigerShark), this indicates that one of the wheel tubes or pulleys is loose. Tracks need replacement when the raised ridges wear down halfway, or damage can occur to the cleaner. Drive belts are replaced if they become stretched out or if ‘teeth’ are missing.
Internal Inspection: Now we go inside, to retrieve the filter or debris bag on a robotic cleaner. Inspect inlet valve flaps, bottom latch mechanisms, and the filter, screen, bag clips or other internal filter parts. Check out the power cord entering the motor, for a visual check that everything looks normal, nothing broken, no oily discharge from motors.
Suction Pool Cleaner Inspection
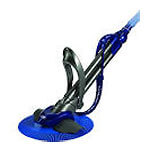
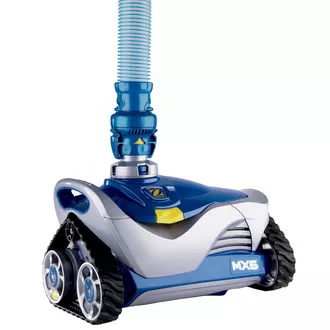
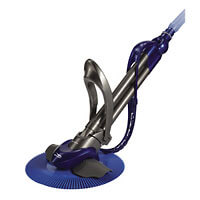
Hoses: A hose inspection is done when you are pulling the cleaner out of the pool, inspecting each hose section, and listening for any air leaks, which indicates loose connections between hoses or small holes. Also on suction cleaner hoses (like Kreepy Krauly), you will have hose weights and/or hose floats along the hose. Give these a look to be sure they are in place.
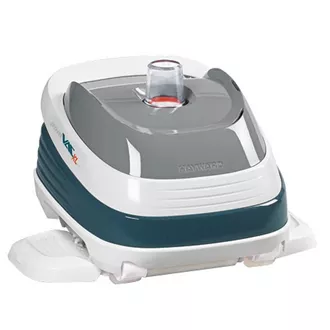
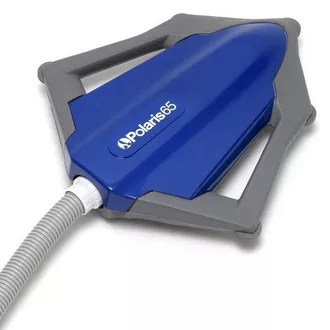
Head: The main wear point on a Kreepy style cleaner is the main seal or disk and foot pad. With the cleaner disconnected, inspect the underside for signs of wear on both. Hayward style cleaners will need new pod shoes every few years, or you”ll soon need new pods, and a set of wings. Whatever is in contact with the pool bottom on your suction cleaner, keep tabs on the level of wear, each time to pull it from the pool.
Internal Inspection: Suction cleaners can become clogged with twigs, acorns or large leaves, but sometimes will keep operating. Flip the unit over to inspect the intake throat, and if your Hayward or StaRite style of suction cleaner is not cleaning properly, you may need to lift the hood, to see what is gumming up the gears or turbine. Check out our schematic images of pool cleaners, to see how all the little bits fit together.
Pressure Pool Cleaner Inspection
Hoses: Again we start at the hose, actually at the wall, to clean the wall strainer. Reconnect, and then pull the cleaner towards you (with booster pump on) slowly, to inspect each hose section and swivel. A small leakage is normal from hose swivels, but if spraying strongly, replace. Hose floats should be… floating, if not replace. Look for any holes or damage to the hose, which will be spraying water, so easy to spot.
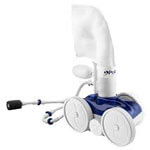
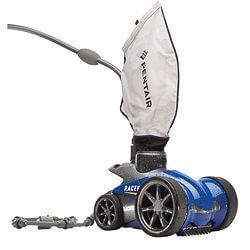
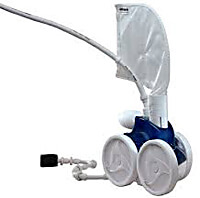
Head: Tires should be replaced if rounded. Tires can be rotated, put your best tire on the wheels that are driven, or the front wheel for Polaris style cleaners. Check the wheels for side-to-side wobble, any deflection more than 1/8″ may mean that you need new wheel bearings. 180/280 Polaris style wheels have gear teeth inside, inspect for damage, and rotate damaged wheels to the rear. Give the front wheel a spin, all 3 wheels should rotate easily, if they skip or bind, adjust the axle forward or backward until wheels spin smoothly. Give the tail wear rings a look, if too small or missing, the more costly tail will need to be replaced. Same for the sweep hose scrubber, it serves to protect the hose tip orifice. Check the debris bag for any holes, and for belt driven cleaners, look at the drive belts and check for deflection of no more than 1/2″ when pushed firmly downward.
Internal Inspection: Very small bits of sand can get stuck deep inside the WMS (water management system), and block water flow. Water that enters the head unit, goes in 3 places – the sweep tail, the thrust jet and up into the venturi throat. To test briefly, if the cleaner is placed on the deck with the bag removed, and the booster pump is turned on, water should spray straight up about 15-20 ft in the air, and out the thrust jet and tail to a distance of about 10-15 feet. If water is not flowing smoothly and strong through these 3 areas, you’ll need to open up the hood and get under there to find the obstruction – follow the ‘water trail’, the problem lies where the pressure dies.
The idea is, every time that you service the cleaner, give it a 21-point inspection, and look closely for wear, damage or missing parts (which are sometimes found in the cleaner bag or pump basket!).
So again, pool cleaners are kind of like cars in regards to maintenance, and it reminds me of the old Fram filter commercial on TV – “You can pay me now, or you can pay me later…”
When you need pool cleaner parts, and trust me you will – I hope we can be your parts provider – find your cleaner schematic and bookmark the page for your reference.

Really good article on pool cleaners! Didn’t even think about this so thanks for sharing your knowledge on the topic. Good real life analogy of comparing them to a car. Makes it very easy to understand. Currently heading to give mine the 21-point inspection!
Hello Davy, we have an inground pool with a vinyl liner, we have changed it to a salt water. Recently we bought some diving sticks unaware they had metal in the ends to make them sink, two of them were left on the bottom over night & now we have two rust stains on the bottom of the pool. I know you can remove them with dry acid in a sock but not on vinyl liners. Please help, how do we remove these stains?
Hi, you can actually use a stain sock on a liner. I have even used direct acid on a liner to remove rust stains, with a StainMaster tool. Just don’t leave the stain bag on there for very long. And it may help to do it underwater, with a mask, scrubbing the surface with the stain sock. PS – I can’t believe that they would use metal in a Dive Stick – geez!