Vermiculite is the usual choice of floor material for inground vinyl liner pools. it is not the cheapest option for your floor, but it is long lasting and one of the easier floor materials to install. This article covers the necessary steps and supplies for installing your own vermiculite and cement pool floor.
Where to Buy Pool Vermiculite
Finding it locally in your area can sometimes be difficult. First, I would check with nearby hardware stores and also local pool dealers. Concrete supply stores and even commercial lawn and garden places.
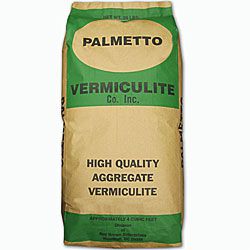
Buy pool floor vermiculite at the time you purchase your pool, and it can be delivered along with the pool kit, or you can buy local, just make sure that you use coarse grade vermiculite for your pool floor – as shown in the image above. it is much easier to mix and work with than fine or medium grade vermiculite.
Another option is to call the two largest manufacturers of the product to see where it can be purchased in your area, they are Whittemore at 978-681-8833 and Schundler at 732-287-2244. These two companies are the major suppliers of vermiculite in the US.
There is another product that can be used, one of which is Perlite, a volcanic glass that has similar properties to vermiculite and can be installed instead of vermiculite. If you are having trouble finding vermiculite in your area, call a few large garden centers in your area, to see if they stock Perlite. Stone Dust (crush-n-run) also makes an excellent pool base.
When is the Pool Floor Installed?
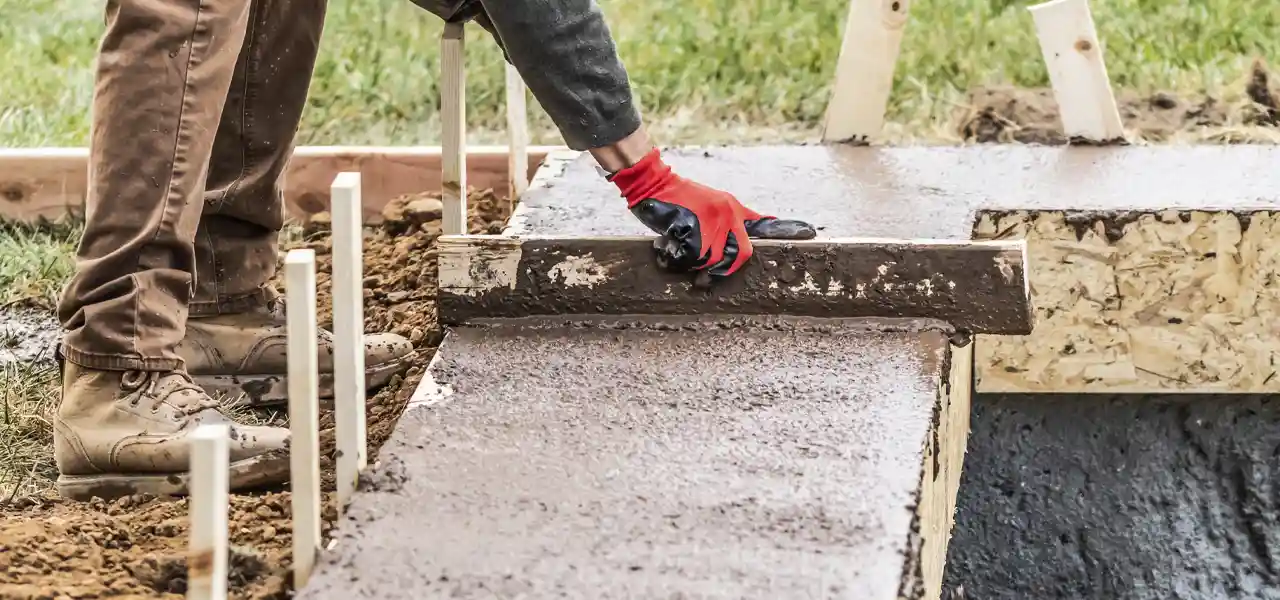
The time to install the pool floor is after the walls have been secured with the concrete collar, poured around the base of the walls. After that, you put on your pool coping and wall foam and face plate gaskets for skimmer and light and then install the pool liner.
How Much Vermiculite Is Needed for Pool Floors?
It depends on the size of your pool; I have created this small chart to help you order the right amount of material to cover the floor areas with a layer that is 1-2″ thick. Vermiculite is sold in a common size of 4 cubic feet, and you may be surprised at how light it is . Portland cement comes in 94 lb bags, and you may be surprised at how heavy these are! If storing your product outside, be sure to wrap it tightly with plastic or tarps, to keep any rain from touching the bags.
| Size of Pool | # of Cement Bags | # of Vermiculite Bags |
|---|---|---|
| 12 x 24 | 7 | 14 |
| 14 x 28 | 8 | 16 |
| 16 x 32 | 13 | 26 |
| 16 x 36 | 16 | 32 |
| 18 x 36 | 17 | 34 |
| 20 x 40 | 19 | 38 |
How is Pool Floor Vermiculite Mixed?
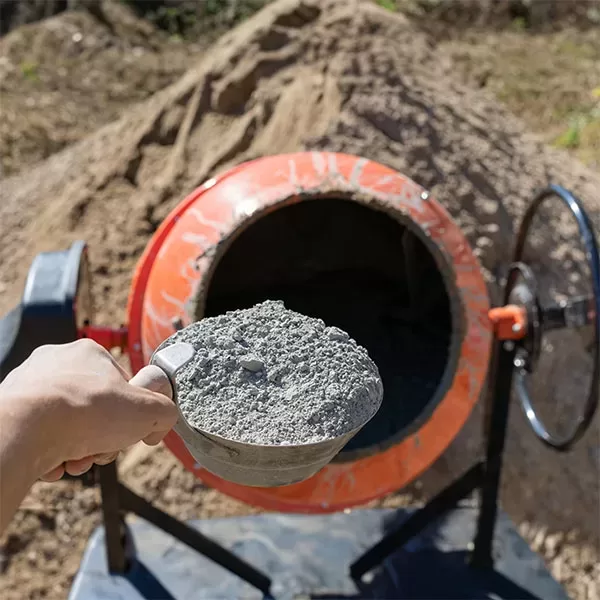
Vermiculite is mixed on site and in a cement mixer called a paddle mixer, which can be rented at any rental shop. You will need Portland cement on hand to complete the mix. The ratio is 2 bags of Vermiculite to 1 bag of cement. The Vermiculite and cement go into the mixer and then you’ll add about two and a half 5-gallon buckets of water, until you reach an oatmeal consistency that you can trowel easily.
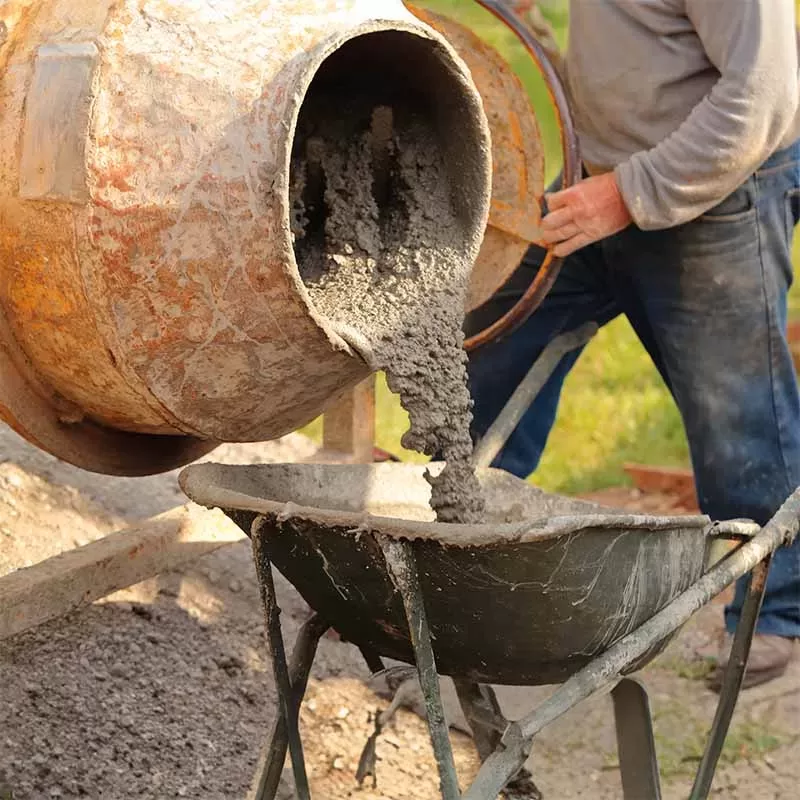
Leave it in the mixer for about 20-30 seconds and that should do it. If it seems to loose and runny, add less water and if it’s too stiff, add more water to the next mix. In the picture below, the fellow on the right is dumping from the mixer into the wheelbarrow, and then moving the mixture to the areas where it’s needed. In the middle picture, they are bringing in buckets full of the mixture and in the left side picture, these guys are taking the easy route. They are using a combination cement mixer and pump, and are spraying the mixture down before troweling it smooth – faster and easier!
What About Pre-Mixed Vermiculite?
There is another product that I know as PreMix, which is a mixture of vermiculite and cement together in one bag. Just add water! This is the same product and will give you the same results, just without the need to mix two products together. Pre-mix product is sold under such names as Pool Base or Pool Mix. If you can buy it locally, it may be worth the extra expense, but if you have to pay large shipment fees, it can end up costing 30-40% more than buying both Portland and Vermiculite locally and mixing it yourself on-site.
How to Install Your Pool Floor
Before troweling in the vermiculite you want to have your pool bottom approximately 2″ below the finished level. This is done with string lines throughout the pool bottom to the finished grade or depth of the pool floor. To install your vermiculite pool bottom you will need:
- Cement Mixer
- Wheel barrows
- 4 to 6 five-gallon buckets
- Garden hose or water source
- Shovel, a steel bullnose trowel and a wood float
Mix up for 20-30 seconds, dump the mix into the wheelbarrow underneath the mixer, then shovel into the 5 gallon buckets, and hand them down into the pool. Bring the buckets to the deep end back wall and start dumping them in place, ready for troweling from the bottom of the hopper pad, up to the wall panel. it is easier to go from bottom of the side slopes, and work your way up to the top. Use the wood float for support and tamping, as you trowel the mixture smooth and level with the bullnose float.
After the back wall is complete work on the side slopes. After these are complete, you can start on the hopper pad and then work up the slope from deep end to shallow floor. The last area to do is the shallow area and either back yourself into the walk-in step or into a corner so you can easily get out without stepping on the troweled bottom. See picture at top of page.
You want your finished product to be right up to your string lines and nice and smooth like concrete. Allow the pool bottom to completely dry and harden up before you walk on it. I generally let it dry overnight and continue the next day with the pool project. There are other parts of the pool that can be done while this is drying.
After the bottom is dry, and before installing the liner, sweep the pool bottom and remove any loose vermiculite or other debris so there is nothing on the bottom that will show up under the liner. Any divots can be filled, and raised lips can be smoothed. The smoother your vermiculite pool bottom is, the better your liner will look, so this is one part of the pool installation to take your time and do it right.


My wife and I contracted an excavator to dig our new pool. The excavator over dug a little too much in a couple of spots. To the extent of 4-6″ in one area of the shallow end, and about the same one of the sloping walls in the hopper. We are trying to decide how to get that back up to the expected over dig to leave the last 2″ for vermiculte. Is this something that we should use gravel? Crush-n-run? Limestone? Quikcrete? If we use something like Crush-n-run or Limestone, do we compact with machine or just tamp? Thanks for any advice.
Hi Chris, we would normally use a gravel, but crush-n-run (stone dust) would be better as it compacts better. Limestone could also be used. It can be just hand tamped in place and soaked thoroughly to help it settle.
Will a vermiculite pool base keep crawdads from burrowing new holes under the pool? We are going to have to pull up the liner due to current damage. We currently have lime dust covered by sand for the base.
Hi Jennifer, never heard of that problem before, crawdads! I don’t think that vermiculite will help, it is soft enough to burrow thru. I would pour the floor in concrete and then lay a Liner Guard pad over top of the concrete. I would excavate about 6 inches, and put in two inches of gravel with 4″ of concrete with wire mesh sandwiched in the middle for strength. You could mix and pour yourself on-site with portland cement and sand, and a concrete mixer, or just order it by truck, their cheapest, probably 2500 # mix. Stone dust is another option, tamped tightly, but perhaps crawdads may be able to burrow thru that too?
Hello,
My pool is 20 years old with a vermiculite floor. The current liner is 11 years old but in excellent shape. Recently, while walking in the shallow section I noticed a few areas where it seems the vermiculite has totally deteriorated and has left the feel on the toes of a very soft, spongy type sand. I’m just wondering what could have caused this after 20 good years. Is it normal wear and just needs repairs at the next liner change.
Thanks
Gary, you could call it normal wear and tear, there are usually some spots that do this, most inground liner changes need some repair to the floor, it is possible that you are feeling a spot that was repaired on your liner change 11-years ago, now failing. At your next liner change, any spots like that can be quickly repaired with new vermiculite and it is common to have a few spots like this. Not sure the cause, maybe moisture or bugs, or soils…
I have a 16ft by 32ft inground swimming pool. One side is 4ft and the other side is 9ft I would like to make the 9ft side to 5ft. It’s 4ft short. I would like to know should i fill some stones first and then put the cement on top.
Hi, I get it, you want to make the deep end shallower, filling in the 9 ft depth to make it only 5 ft deep. First thing is ‘percolation’, get a core drill, with a 2″ bit, and cut out about 20 holes in the pool floor. Or use a jackhammer or heavy equipment, to bust up the deep end floor, so it can percolate water. Then I would bring in stones and soil, and fill-in about 3 feet deep, and compact it, water it deeply. Then I’d put just under a foot of crush ‘n run, or stone dust, and top with 2″ of vermiculite. Then a new liner, made to fit the new dimensions. If a plaster concrete pool, then you’d have to construct a steel cage, to tie into the existing pool, drilled and connected into the slope and the deep end walls, at the 5’ depth. Plumb a new dual main drain system, with piping that is run thru the pool wall, and run back to the pump in a trench. Then you can shoot a new gunite floor, or poured low slump, high strength concrete, to a depth of about 5 inches. Then finish with a new plaster coat over the entire pool. Remove any diving boards afterward, if you have.
My vermiculite pool bottom needs some repair and also has a small amount of ground water in the bottom of the hopper. There’s enough water that it sounds like I wouldn’t be able to trowel new vermiculite mix without washing out the cement. How should I go about removing the water long enough to re-trowel the bottom? I’ve heard that maybe I could dig a small hole and then put a sump pump in the bottom. How would you do it?
yep, exactly, dig a small hole and put a sump pump in there. Run the discharge hose up the shallow end floor and over the wall (less resistance than going up the deep end wall). Let the pump run for an hour or two, and if water continues to seep in, you can move the pump if needed, and keep it running while you quickly lay down the new hopper
Thanks for the advice, Davy! Is there anything special to do once you get most of the mix layer down and you go to remove the sump pump or do you just patch the final hole left with more vermiculite mix?
Yes, just patch the hole, if very deep you can add sand first, then top with vermiculite. Nothing special
Davy, I have read in several places that the vermiculite cement has a better insulating value than concrete. What if he just increased the thickness?
This is a great article and i expect it to be quite helpful. My question is….I intend to heat my pool and would like to insulate to create a thermal barrier between the water and the soil. Do you have advice on where to place the insulation? Directly under the vermiculite or should I place some sand on top of the insulation before the vermiculite? Thank you
Hi Brian, I suppose you could use Pink Insulation board, the Owens Corning stuff, cut to fit and laid underneath the vermiculite, directly on the soil, then vermiculite directly on top of that. Note that I have never done this, nor have I ever heard of anyone doing this, or insulating beneath a pool – so you may run into some difficulties or unintended consequences, perhaps with future deterioration or settling or cracking – not sure what, and maybe nothing, but just FYI…