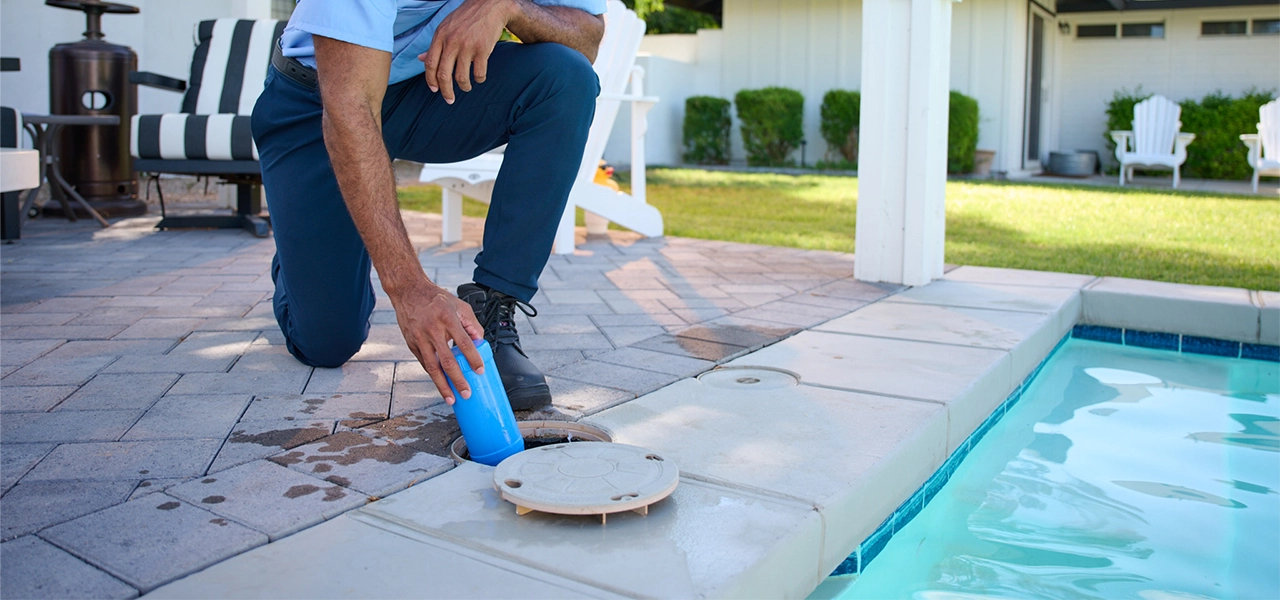
Essentially, you screw the pressure stick into the skimmer, with Teflon tape. Then connect a garden hose to it, also with Teflon tape on the male threads. Your pressure testing stick should be made with a 1.5 inch threaded male fitting on the end. If your skimmer has two inch ports, add a 2in. X 1.5in. threaded reducer to the skimmer, again with Teflon tape to prevent any pressure loss.
How to Pressure Test Pool Lines Step 1:
Plug the pool returns, other skimmers, and the main drain, whatever pool pipes you want to test. You can use winter expansion plugs (#8 or #9) or use threaded plugs with o-rings, like the SP1022C (1.5 inch) or 195829 for 2 inch threaded pipes. You don’t have to plug them all at the same time, because you will be testing each line individually. There are specialty test plugs that have straight side walls, not tapered like winter plugs, which hold better under high pressure. However, in most cases, these expensive test plugs are not needed, and winter plugs will hold 10-20 psi of pressure, as long as you tighten the wing nut very tightly. If you have problems, use the threaded plugs mentioned above.
Open or close the suction valves as needed to isolate the line or lines you want to test. From one skimmer, you can close the skimmer valve, to test the skimmer line(s), but also the main drain (if plugged). The valve will need to be a positive sealing valve, one that won’t leak any pressure. To be certain, you can open up the valve, and plug the incoming port of the valve, or cut the pipe on the vertical, where it comes out of the ground, and plug the pipe itself, to isolate any particular pipe.
How to Pressure Test Pool Lines Step 2:
You can also test the return side, or pressure side by sending the water thru the pump and filter (if you have a multiport valve, put it to recirculate setting), and back to the return lines. But many times you want to isolate a particular pipe, and not test several pipes at the same time. In such a case, cutting the pipes at a convenient location may be the best option (later you reconnect the pipes with a PVC coupling or union).
The pressure testing stick can also be moved from the skimmer, and connected to a cut pipe on the equipment pad, with the use of a female threaded coupling, temporarily mounted onto the cut pipe. For testing only the main drain pipe for instance, cut the main drain and skimmer pipes (all of them), so you can move the suction manifold pipes out of the way. Then push on a SlipXFPT female adapter onto the cut pipe(s), and screw your pressure testing stick into the FTA fitting. Don’t forget to plug the main drain, the hole is usually on the side of the main drain pot, underneath the drain cover.
How to Pressure Test Pool Lines Step 3:
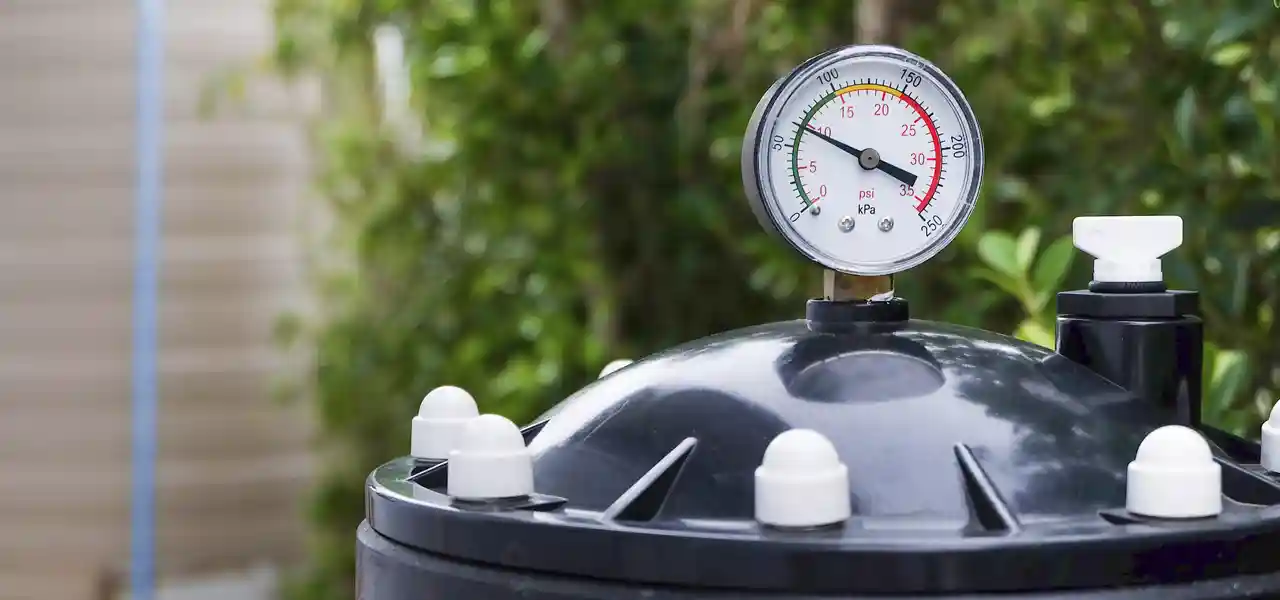
When you get your pressure testing rig mounted, and the other end of the pipe is plugged tightly, connect a garden hose and turn on the water to pressurize the line. Add enough water until the pressure rises significantly, 15 psi or so, then shut off the water on the small valve on the pressure stick, and watch the pressure gauge.
IF pressure holds (give it 60 seconds), the line is good, and you can move on to testing others lines or pipe runs. If the pressure slowly drops, more than 1 psi, and continues to drop, double check everything, and repeat the test, to be sure there’s no pressure leaks in your set-up. A small drip from the hose connection, or bubbles from where the line is plugged, can be enough to show a pressure drop, and fool you into thinking the line is cracked.
If it’s a large leak in the pipe, you may not even be able to build any pressure at all, or see just a few psi on the gauge. For pipes that may be near empty however, it can take several minutes to refill, before pressure will register on the gauge.
There’s a dozen ways to build a pool pressure testing rig, it need not look like mine, it could be any sort of arrangement that allows you pressurize the pipe, a valve to shut off the water, and a pressure gauge to monitor. Here’s an alternate arrangement, built by one of our customers that I was helping (one that asked about this blog post).
Found a Leaking Pipe, Now What?
After pressure testing the pool lines, and finding one (or more) that does not hold pressure, what are the next steps? Either you make a repair to the broken pipe, replace the broken pipe, or abandon the broken pipe.
1. Repair the broken pipe
For this to happen, you have to know at least the general area where the pipe is leaking, so you know where to dig. Many skimmer and return breaks can be under the pool deck, and I’ve tunneled under many short decks, and also cut a 3×3 hole in large pool decks to fix leaks. But don’t start digging or cutting until you are at least reasonably sure of the location. Leak detection experts often also add a gas to their pressure testing rigs, and then use electronic listening devices to hear exactly where the leak is in the pipe. With a small bit of experience, they can draw an X right on the ground – dig here.
2. Replace the broken pipe
If you don’t know exactly where the pipe is leaking, or if the entire pipe is shattered along it’s length, or if you are replacing old flex pipe used underground, you may just want to dig a new trench (call 811 or your local Miss Utility first), from the pump to the pool, and lay in a new pipe. Don’t worry about digging up the old pipe, just let it rot in the ground.
3. Abandon the broken pipe
In some cases, people decide that they don’t really need the extra skimmer, or they can live without a main drain. And you probably can, if you have good circulation, and use a pool cleaner daily to help distribute filtered water. However, you may also need more pump run time and more chemicals to compensate for the reduced circulation.