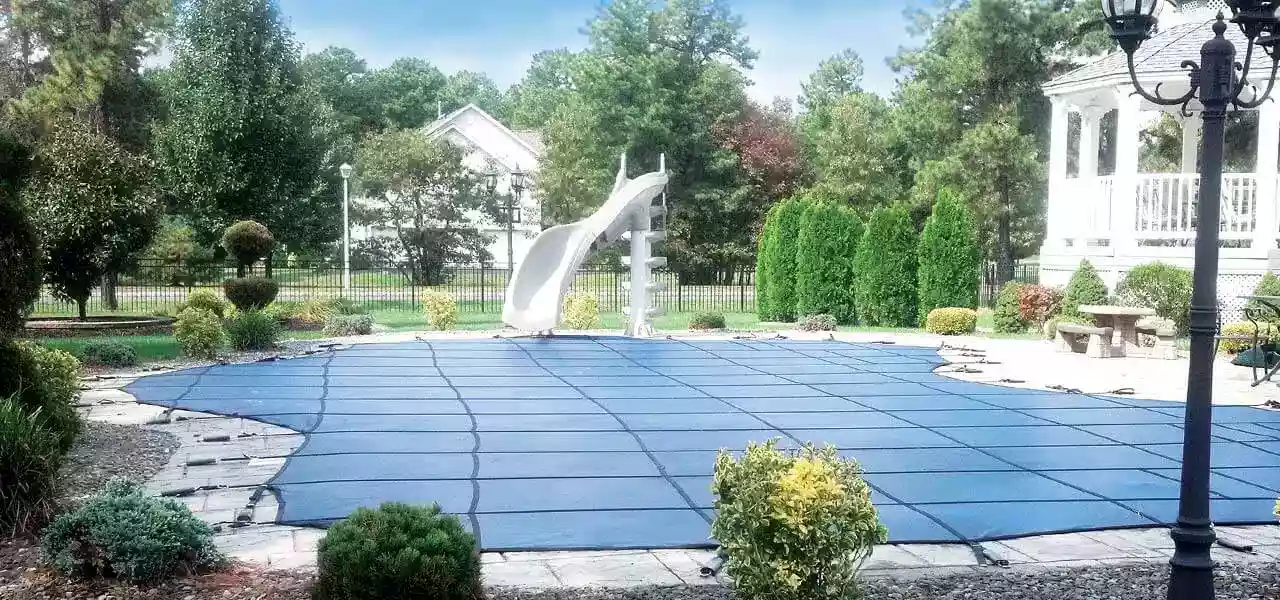
Safety Pool Covers are kind of my specialty, so when cousin Joe (Cox) wanted a new safety cover, I insist he let me help him out (as I always do). “It’ll be great blog fodder!” I told him.
So he agreed, and then we took A-B measurements of the pool on a Saturday, measuring the pool and elevated spa for replacement safety covers.
Joe’s pool has 4 steps, each rising 9″, up to an elevated in ground spa and patio area, a common design. Too high for what’s called an “Up and Over” safety cover, so the other option is to drill into the wall, placing stainless steel eyebolts into the wall.
For a better fit up against the wall, the Cable/Anchor system is employed, which also makes it easier to attach and detach the cover. After the wall anchors are placed, a coated steel cable is run through the eye bolts, with turnbuckles on each end, to make it very tight.
Simple, right? Not exactly; but I’ve learned a few tricks along the way…
Installing Wall Anchors:
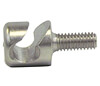
A lot of people initially ask, “do the wall anchors stay in… year-round?”. Yes, they should stay in, but they are removable, if you want to remove the Eyebolt. Meyco has a new Cable latch wall anchor that is less obtrusive and quite pretty, but we used the regular eye bolts anyway.
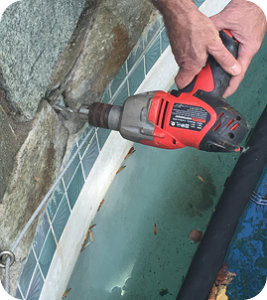
For drilling into the wall, you’ll use a handheld hammer drill, or good sized regular drill, and the correct sized Masonry drill bit. I used the wrong size on the first few holes, oops – sorry Joe! What’s a few more holes in the wall? You can drill into the rock or stone, but it’s much easier to go into the mortar between the stones, so you know which route I took.
Notice that I drilled my holes hanging over the edge of the pool. You can also get into an inflatable raft tied to a long rope (to hold it up against the wall), to drill the holes. A powerful cordless drill can be used, but will only drill a dozen holes or so per battery charge. Electric drills should be plugged into a tested GFCI outlet, and if you drop it, or it skips out of your hands – don’t try to grab the drill as it falls in the water!
It’s good practice to drill your wall anchors mostly at the same time, rather than alternating side to side and end to end, like for a normal custom shape cover installation.
Install the wall anchors in the middle of the cover about 4 inches higher than those at either end of the raised wall. This improves the fit and helps the cover shed leaves and debris.
Use a chalk line or draw a chalk line on the pool wall to keep an even plane for your wall anchors, and to help you gradually rise from the ends of the cable (where the anchors are placed just an inch above the tile line), to the center straps (where they are placed 3-5 inches above the tile line).
For straight walls, you can place an anchor every 3 feet. For curved walls, like we have here, we placed anchors at the apex of every radius, and spaced them about 2 feet apart on average, using more on small radius corners, or sharp corners. Place anchors where you need them, to keep the cable running as close to the wall as possible.
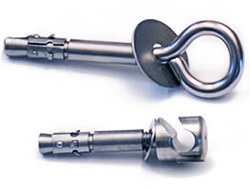
Eyehooks or Cable Latch:
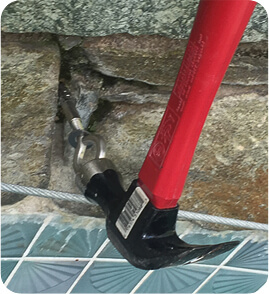
Drill a clean 3/8in x 2.5in hole and hammer in the wall anchor. Extra-long stainless steel wall anchors are available, up to 6 inches long. You can use the cable latch anchor in most cases. The advantage of using the Cable Latch wall anchors instead of the eyehook anchors is that you don’t have to un-do one of your turnbuckles every spring, in order to pull the cable through the closed eye hooks.
If you want to catch the mortar dust, float something plastic on the water. Dust that falls into the pool can be brushed away. Once you pound in the wall anchor, use a screwdriver to turn the anchor clockwise, to drive the lag into the sides of the hole, and hold tight.
Installing the Wall Cable Turnbuckle Assembly:
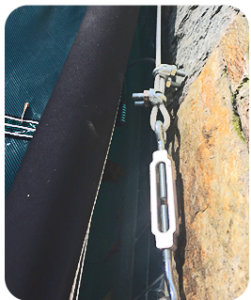
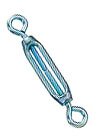
Included with our Meyco cover was the Cable System with Turnbuckles (there is also available a Cable System with Springs). A turnbuckle is a device used to create tension on the cable by having two opposite threaded eye bolts in a frame. It is used to tighten the cable that the cover connects to with large steel clips sewn to the underside of the cover.
One of the eyebolts of the turnbuckle will connect to your first wall anchor, and the opposite eyebolt connects to the cable. The cable is connected to the eyebolt by threading the cable through the eyebolt of the turnbuckle, looping it backwards and securing the two cables with cable clamps. This hardware was all provided in the Cable System kit, along with the wall anchors and a couple of the low profile Cable Latch wall anchors.
Start with the eyebolts turned out of the frame, then turn the frame to tighten up the turnbuckle, drawing the bolts closer together.
Finishing Up an In the Wall Install:
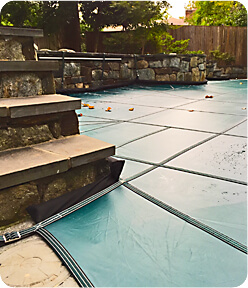
For a complete installation from scratch (this was a replacement cover), your first step would be to get the cable assembly installed and running tightly across the wall. Then you can proceed to install the cover as you would a regular custom cover, moving around the pool side to side, then end to end, back to the sides – connecting the patented stainless steel swivel clips (sewn in on the underside of the cover) to the cable just before drilling the straps on the opposite side.
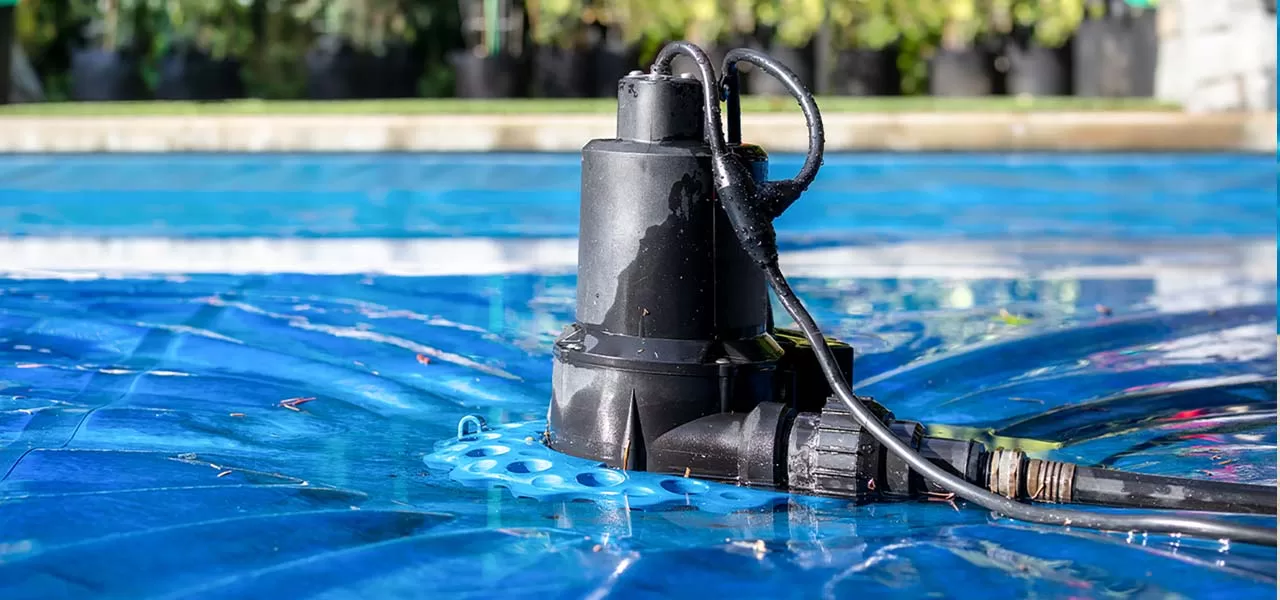
Work from the center of the cover, towards the outside ‘corners’ of the cover as you install an in-the-wall safety cover. After all the deck anchors are drilled, spend time to adjust strap length to equalize spring compression and to provide better coverage or better fit in certain areas, as needed. This cover needed many slight adjustments, as most safety pool cover replacements require. The Polyguard edge on the Meyco cover is an improvement over competitor solutions to sealing up against the wall, and now Joe no longer has use for pool noodles to seal up the cover to the wall.
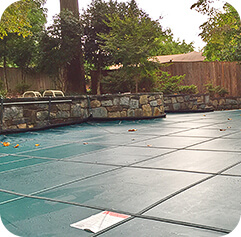
Came out quite nice, don’t you think? For safety cover hardware, tools and accessories, please visit the safety cover hardware and parts page on our website.