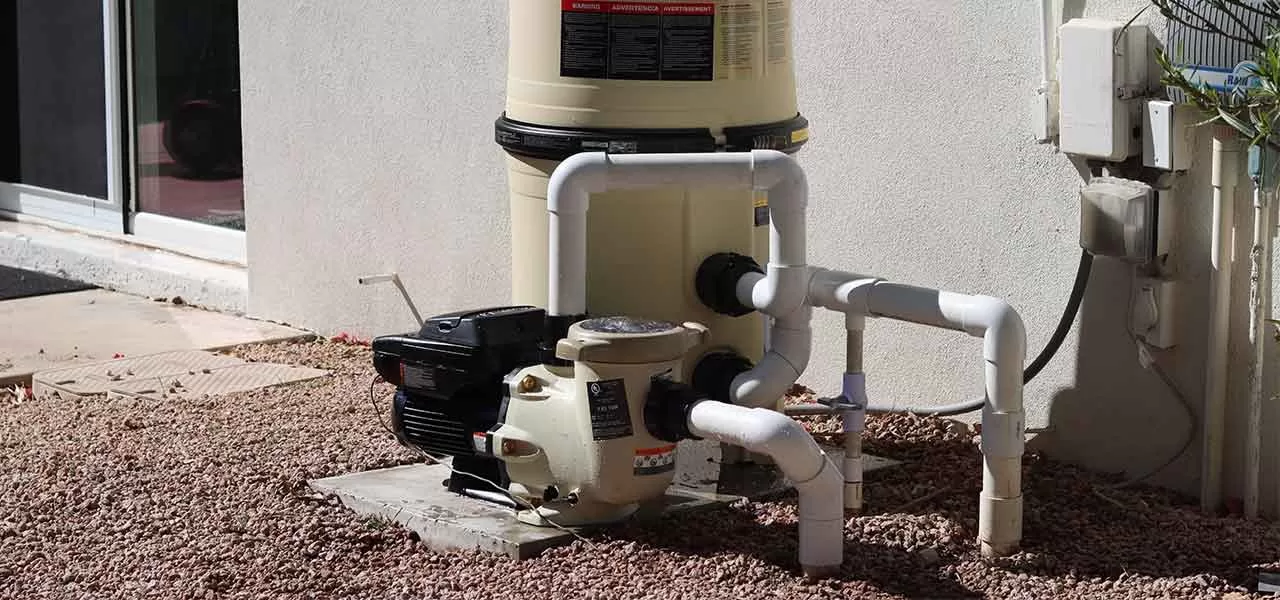
A quiet debate has circulated among pool service guys for years. Whether or not it’s worth it to remove pumps or more specifically, pump motors, from the equipment pad during winterizaton. Pump motors can develop rust in the tiny air space between the stator and rotor, deep inside the motor, which can freeze up a motor when you try to start it in springtime.
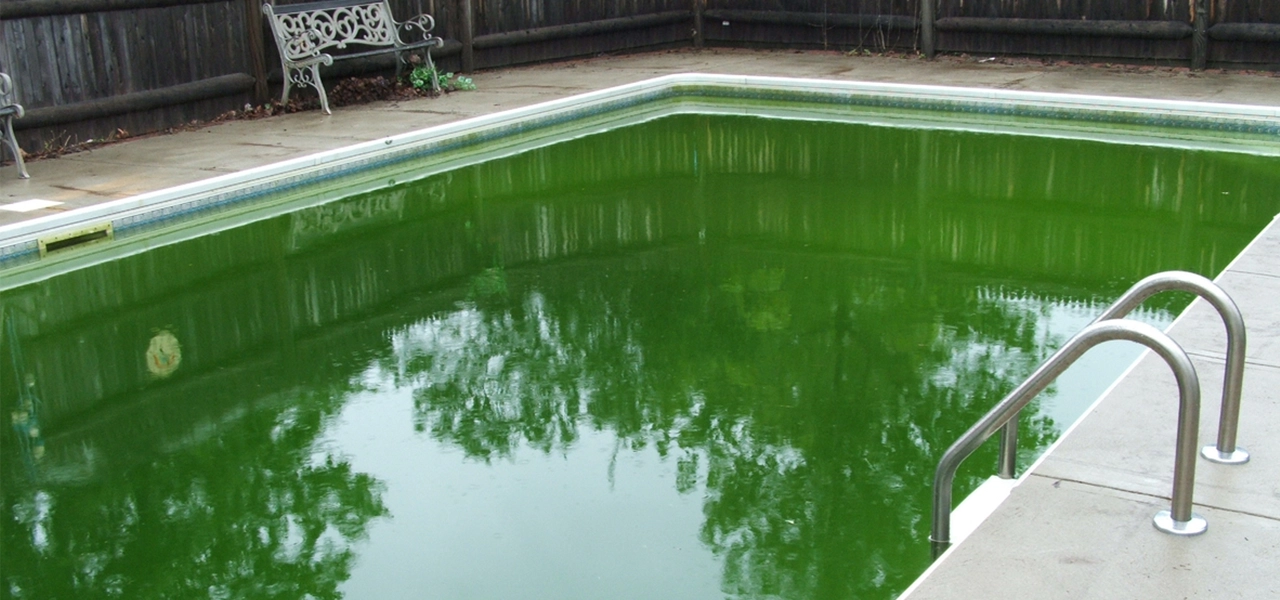
Although cold temperatures likely do little harm to the steel, copper and plastic components of a pool motor, many feel that it can weaken the capacitor, which essentially is a battery. The larger concern is over water – rain and snow, sometimes feet of snow. While the armature on a pool pump is sealed tightly, excessive water or moisture around or in the motor can accelerate the mentioned rust problem. The issue of possible flooding around the motor is the largest concern, as flooded pump motors rarely survive.
Reasons for Removing a Pool Pump Motor
- To prevent rust inside the motor from snow and rain or excessive moisture
- To keep the motor safe from falling branches
- To protect the motor from rare problems like winter floods or insect damage
Disclaimer: Removing a pool pump motor involves potential risks, and if pool owners are not confident in their ability to do so without risking harm, it is strongly advised to seek the assistance of a professional pool technician for safe and proper handling. Professional expertise ensures that the task is performed without any potential harm or injury, prioritizing safety above all.
How to Remove a Pool Pump
1. Remove Motor or Entire Pump and Motor
There are two ways to go about removing a pool pump for winter storage – you can remove just the motor or you can remove the entire pump and motor. If your pump has union connections on the pipe, before and after the pump, it makes the job much easier. If you don’t have unions, or have no room in the pipes to install unions, then you would remove just the pump motor by either removing 4-6 bolts or the volute clamp band, or the mounting nut used by Jacuzzi. Separate the pump volute, then firmly grab the motor and slide it straight back to detach it from the pump.
2. Connect Wiring to the Motor
The second part of pool pump removal is more difficult, and also more dangerous since you need to connect the wiring to the motor. Above ground pumps can simply unplug the cord and, if small enough, move the entire pump and filter system inside for the winter. However, a flexible conduit containing two power leads and a ground wire hard-wires inground pool pumps.
Make sure that power is OFF at the breaker by shutting off all the circuit breakers on the sub-panel and also shutting off the time clock. Remove the On Dogs, or timer trippers from the time clock, to prevent the clock from turning on again if anyone flips the breakers back on during winter.
For this next step, grab a seat on an upturned bucket or stool, and flip the motor gently, so that it is standing on the wet end, with the back of the motor pointing up. Open up the back of the motor by removing the end cap, or the cover plate to expose the 3 wires. Use the proper tool, either a flat head screwdriver or a 5/16″ nutdriver to loosen the incoming power leads. Adding spade connectors to the wires can make this step faster. You may wish to make a note or sketch of the wiring to help remember how to rewire. Above the terminal board, you will see the green ground screw. Use a small flathead or a 1/4″ nutdriver to loosen the screw and remove the ground wire from the motor.
3. Loosen Conduit Connector Nut
Next step is to loosen the conduit connector nut on the outside of the motor, to disconnect the flexible conduit from the motor, while pulling the wires out of the motor (you may have to straighten the wires first, to be able to pull them through the small hole). With the wires removed from the motor, twist an electrical nut on the end of each and wrap all the wires tightly with electrical tape, covering the conduit opening also, to keep rain out.
4. Remove Bare Copper Bonding Wire
The final step is to remove the bare copper bonding wire from the connector on the motor. Use a 1/4″ nutdriver to remove the screw that holds the brass bonding lug to the motor, then screw the screw back into the motor, so it won’t get lost.
THAT’S IT! Store the motor or pump indoors in a location that prevents damage. Don’t store it near any chlorine chemicals, which give off gas that can corrode the metal parts of pumps and motors. Keep it on a low shelf, so it won’t fall or roll.
If you keep your motor outdoors all winter, you could build a ‘lean-to’ with lumber or plastic for snow, rain and tree branches, but keep good air flow around the motor, and don’t wrap it in plastic, which traps moisture inside the motor.